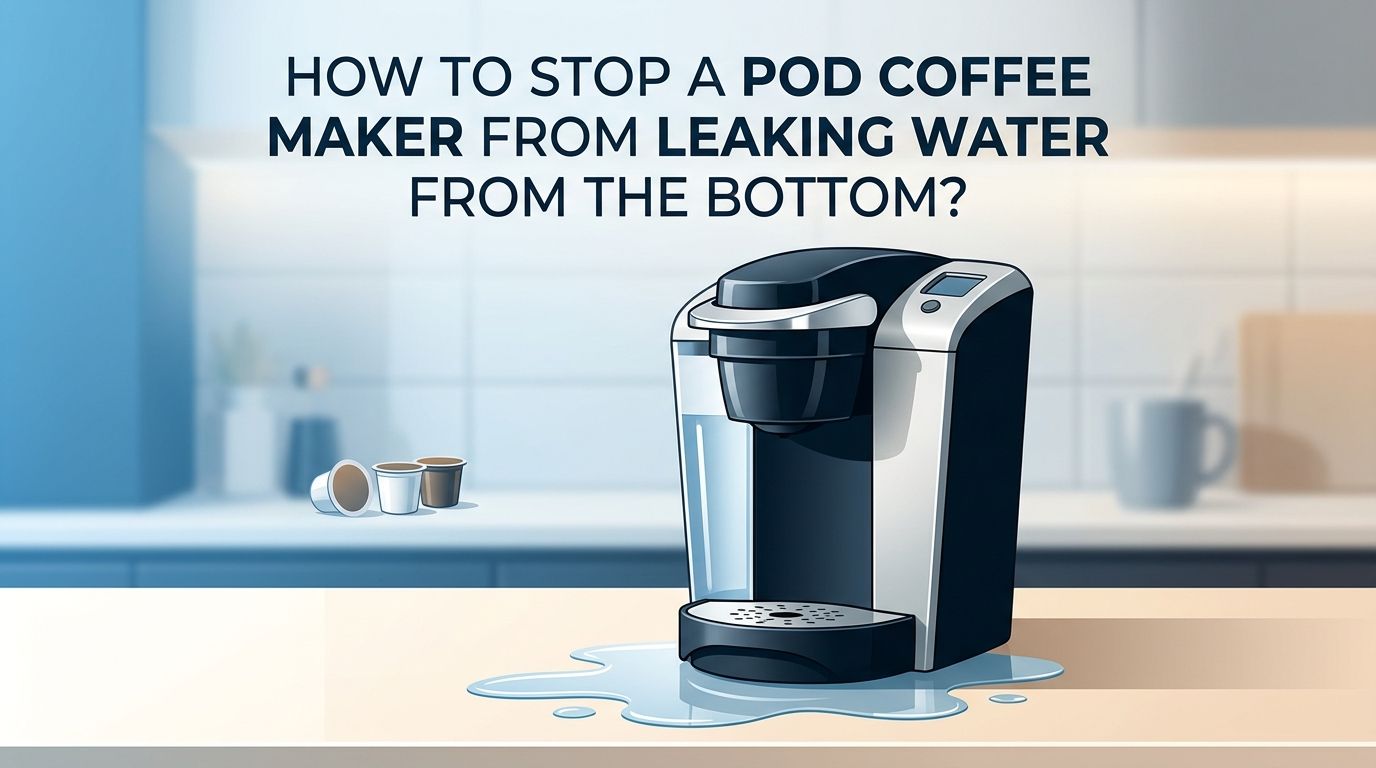
How to Stop a Pod Coffee Maker From Leaking Water From the Bottom?
You reach for your morning coffee, and there it is: a puddle of water sitting under your pod coffee maker. It is frustrating, messy, and can even damage your countertop over time.
A leaking pod coffee maker is one of the most common complaints among single serve coffee machine owners.
The good news? Most bottom leaks are fixable at home without special tools or expensive repairs. The causes range from a worn out seal to mineral buildup inside the machine. In many cases, the fix takes less than 30 minutes.
Key Takeaways
- A leaking pod coffee maker usually has a simple, fixable cause. The most common culprits include a damaged O ring, a cracked water reservoir, clogged needles, or mineral buildup inside the water lines. You do not need professional repair skills to address most of these problems.
- Start with a basic inspection before you attempt any repairs. Remove the water reservoir, check for visible cracks, and look at the rubber seals. Many leaks come from something as basic as a poorly seated reservoir or a drip tray that has reached its capacity.
- Descaling your machine can solve hidden leak problems. Mineral deposits from hard water build up over time and can block internal tubes. This blocked pressure forces water to escape from unintended openings, including the bottom of the machine.
- O ring and gasket replacement is one of the most effective and affordable fixes. These small rubber seals wear down with use and heat exposure. A replacement O ring typically costs very little and takes minutes to install.
- Regular maintenance prevents future leaks entirely. Cleaning the needles, descaling every few months, and using filtered water will keep your pod coffee maker running smoothly for years. Prevention is always easier than repair.
- Know when to contact the manufacturer. If your machine is still under warranty and the leak involves an internal component, a warranty claim may get you a free replacement or repair.
Why Does a Pod Coffee Maker Leak From the Bottom?
A pod coffee maker moves water through a specific path. Water flows from the reservoir into a heating chamber, through internal tubes, and then up through the needle that pierces the coffee pod. A leak from the bottom means water is escaping this path somewhere inside the machine.
Several things can cause this escape. The water reservoir might have a hairline crack that only leaks under pressure. The rubber seal connecting the reservoir to the machine could be worn or misaligned. Internal silicone tubes might have loosened or degraded after months of heat exposure.
Mineral buildup from hard water also plays a significant role. Calcium and lime deposits narrow the internal passages and create back pressure. This pressure pushes water out of weak points, often at the base of the machine.
A clogged exit needle is another common cause. If the needle that punctures the bottom of the pod is blocked, water cannot flow through the pod properly. It backs up and finds an alternative route, frequently dripping from the bottom.
Pros of diagnosing the root cause first: You avoid wasting time on the wrong fix. Cons: It requires patience and some disassembly.
How to Identify the Exact Source of the Leak
Before you fix anything, you need to find exactly where the water is coming from. Place a dry paper towel or a flat piece of cardboard under and around your coffee maker. Run a brew cycle without a pod, using only water.
Watch the machine carefully during and after brewing. Note where moisture appears first. Is it pooling directly under the reservoir area? Is it dripping from the front near the pod holder? Is water running down the back of the machine and collecting underneath?
Remove the drip tray and check if the leak is above or below it. Many people mistake an overflowing drip tray for a bottom leak. The drip tray collects excess water during normal operation and needs to be emptied regularly.
If the water appears to come from inside the machine body, the issue is likely an internal seal, hose, or the heating element. If it originates at the reservoir connection point, the O ring or reservoir itself is the likely problem.
Pros of this method: Pinpoints the exact problem area. Cons: You may need to run multiple brew cycles to confirm.
Check and Reseat the Water Reservoir
The water reservoir is the first thing to inspect. Remove it completely from the machine. Look at the bottom and sides for any cracks, even tiny ones. Hold it over a sink filled with water and press gently on the walls to see if any water seeps through.
Hairline cracks are hard to spot when the reservoir is dry. Fill it with water and set it on a dry towel for 10 minutes. If you see moisture on the towel, the reservoir has a crack and needs replacement.
If the reservoir looks intact, check the valve at the base where it connects to the machine. This valve controls water flow into the brewer. Make sure it is clean and free of debris. Wipe it down with a damp cloth.
Reseat the reservoir firmly. Push it straight down onto the machine’s connection point. A reservoir that sits at an angle or is not fully locked in can allow water to bypass the seal and drip down the side of the machine.
Pros of this fix: Quick and requires no tools. Cons: If the reservoir is cracked, you must purchase a replacement.
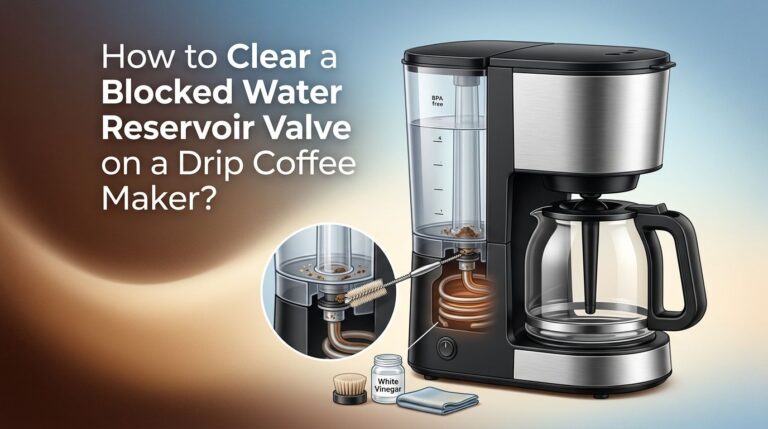
Inspect and Replace the O Ring Seal
The O ring is a small rubber gasket that creates a watertight seal between the water reservoir and the machine body. This is one of the most common causes of bottom leaks. Over time, heat and mineral deposits cause the O ring to shrink, crack, or lose its flexibility.
To inspect it, remove the water reservoir and look at the connection point on the machine. You will see a circular rubber ring. Pull it off gently and examine it for cracks, flat spots, or hardening.
If the O ring looks damaged, replace it. You can find universal O ring kits at most hardware stores. Bring the old one with you to match the size. Food grade silicone O rings work best because they resist heat and do not degrade as quickly.
Before installing the new O ring, clean the groove where it sits. Use a damp cloth to remove any mineral deposits or old grease. Apply a thin layer of food grade silicone grease to the new O ring before placing it. This helps create a better seal and extends the life of the gasket.
Pros: Inexpensive and highly effective. Cons: Finding the exact size can take some trial and error.
Clean the Clogged Needles
Pod coffee makers use two needles to brew coffee. The top needle pierces the lid of the pod, and the bottom needle pierces the base. If either needle becomes clogged with coffee grounds, the water has nowhere to go. It backs up inside the machine and can leak from the bottom.
Unplug the machine before you start. Open the pod holder and locate the top needle inside the lid area. Use a straightened paperclip to gently clear the opening. Insert the paperclip and move it around to dislodge any trapped grounds.
For the bottom needle, remove the pod holder assembly if your model allows it. Look for the small needle on the base of the holder. Clean it the same way with a paperclip.
After cleaning both needles, run two or three water only brew cycles to flush out any loosened debris. Check under the machine after each cycle to confirm the leak has stopped.
Pros: Takes less than five minutes and requires no special tools. Cons: Does not fix leaks caused by seal or reservoir problems.
Descale the Machine to Remove Mineral Buildup
Mineral deposits from tap water accumulate inside the water lines, heating chamber, and valves of your coffee maker. This buildup restricts water flow and increases internal pressure. That extra pressure can force water out through small gaps at the base of the machine.
To descale, fill the reservoir with a 50/50 mixture of white vinegar and water. Run brew cycles until the reservoir is empty. Do not use a pod during this process. Let the machine sit for 30 minutes after the last cycle to allow the vinegar to dissolve stubborn deposits.
Then fill the reservoir with fresh, clean water and run several cycles to rinse out the vinegar taste and residue. You may need three or four rinse cycles for a thorough flush.
You can also use a commercial descaling solution if you prefer. Follow the instructions on the packaging for the correct ratio and process. Descale your machine every two to three months if you use tap water, or every four to six months with filtered water.
Pros: Addresses hidden internal blockages. Cons: The vinegar smell can linger if you do not rinse thoroughly enough.
Examine the Internal Hoses and Connections
If external fixes have not stopped the leak, the problem may be inside the machine. Internal silicone hoses connect the water reservoir to the heating element and the brewing head. These hoses can crack, loosen, or slip off their fittings after extended use.
Unplug the machine and let it cool completely. Turn it upside down and remove the bottom screws to access the internal components. Look for any visible water trails, wet spots, or white mineral stains on the hoses and fittings.
Check each hose connection point. If a hose has slipped off a fitting, push it back on firmly. If the hose looks cracked or brittle, it needs replacement. Food grade silicone tubing in the correct diameter works as a substitute.
Use small hose clamps to secure any loose connections. This prevents them from slipping off again during the pressure of brewing. Reassemble the machine and test with a water only brew cycle.
Pros: Fixes stubborn internal leaks that other solutions miss. Cons: Requires some comfort with basic disassembly, and may void your warranty.
Ensure the Drip Tray Is Properly Seated
This sounds simple, but a misaligned drip tray causes many “bottom leak” reports. The drip tray sits beneath the brewing outlet and catches overflow, drips, and condensation. If it is not properly seated, water can spill over the edges or run underneath the machine.
Remove the drip tray and empty it. Clean the tray and the slot it sits in. Dried coffee residue or mineral buildup can prevent the tray from sitting flush. Wipe both surfaces with a damp cloth.
Slide the tray back into place and make sure it clicks or sits firmly in position. Some models have a small lip or guide rail that the tray must align with. If the tray does not sit flat, check for warping. A warped drip tray will not catch water properly.
Empty the drip tray after every few uses. Many owners forget this step and find water pooling under the machine simply because the tray overflowed. Some newer machines have a “full” indicator on the tray to help you monitor the water level.
Pros: Easiest and fastest fix possible. Cons: Only solves the problem if the drip tray was actually the cause.
Check for Overfilling the Water Reservoir
Overfilling the reservoir is a surprisingly common cause of bottom leaks. Every pod coffee maker has a maximum fill line marked inside the reservoir. Water above this line can overflow during brewing when the machine heats up and the water expands slightly.
This overflow does not always come out the top. It can run down the back or sides of the machine and pool at the bottom, making it look like an internal leak. The fix is straightforward: only fill the reservoir to the indicated max line.
If you tend to fill the reservoir for the day ahead of time, consider filling it just enough for the cups you plan to brew in one session. Less water in the reservoir means less pressure on the seals and less chance of overflow.
Also check that the reservoir lid closes properly. An open or loose lid can cause water to splash out during the heating process. Some models use the lid as part of the pressure system, so a bad fit can disrupt the entire brew cycle.
Pros: No tools or parts needed. Cons: Does not apply if you are already filling below the max line.
Use Filtered Water to Prevent Future Problems
Hard water is the biggest long term enemy of any pod coffee maker. The minerals in unfiltered tap water cause scale buildup that damages seals, clogs passages, and corrodes internal parts. Using filtered water dramatically reduces these problems.
A basic water filter pitcher works well for this purpose. Fill your reservoir with filtered water every time and you will see a noticeable difference in how often you need to descale.
Some pod coffee makers come with a built in water filter in the reservoir. If your machine has one, replace it according to the schedule in your owner’s manual. A spent filter does nothing to protect your machine and can actually become a source of debris that clogs the system.
Filtered water also improves the taste of your coffee. Minerals like chlorine and calcium affect flavor, so removing them benefits both your machine and your cup. This one habit addresses multiple issues at once.
Pros: Prevents scale buildup, extends machine life, and improves coffee taste. Cons: Adds a small ongoing cost for filters.
Know When to Contact the Manufacturer
Some leaks are beyond a home repair. If you have tried all the steps above and your machine still leaks, the problem might involve the internal pump, heating element, or a sealed component that cannot be accessed without specialized tools.
Check your warranty status before you spend money on professional repair. Most pod coffee makers come with a one to two year warranty. If your machine is within the warranty period, contact the manufacturer’s support line. Many companies will send a replacement unit at no cost.
Document the leak before you call. Take photos or a short video showing where the water appears. This helps the support team diagnose the issue faster and strengthens your warranty claim.
If the machine is out of warranty, compare the cost of repair against the cost of a new machine. Pod coffee makers are relatively affordable, and a machine with severe internal damage may cost more to fix than to replace.
Pros: Gets expert help and may result in a free replacement. Cons: Warranty claims can take time to process.
Preventive Maintenance Schedule to Avoid Future Leaks
Prevention keeps your pod coffee maker leak free for years. Setting up a simple maintenance schedule takes the guesswork out of care and catches small issues before they become big problems.
Weekly: Wipe down the exterior, empty and rinse the drip tray, and clean the pod holder area. Remove any coffee grounds from around the needles.
Monthly: Remove the water reservoir and clean it with warm soapy water. Inspect the O ring for signs of wear. Clean the needles with a paperclip to prevent clogs.
Every two to three months: Descale the machine with vinegar or a commercial solution. Replace the water filter if your model has one. Check the reservoir for hairline cracks.
Every six months: Inspect internal hoses if you are comfortable with basic disassembly. Apply fresh silicone grease to the O ring. Review the owner’s manual for any model specific maintenance tasks.
Following this schedule adds only a few minutes to your routine each week. The payoff is a machine that brews reliably without leaks, tastes great, and lasts much longer.
Frequently Asked Questions
Why is my pod coffee maker leaking only during brewing?
A leak that occurs only during brewing usually points to a pressure related issue. The machine builds internal pressure to push hot water through the pod. If a seal is weak or a hose connection is loose, that pressure forces water out through the gap. Clogged needles can also cause this because the water cannot exit through the pod and finds another path. Clean the needles first, then check the O ring and reservoir seal.
Can I use food grade silicone to seal a cracked reservoir?
Food grade silicone sealant can work as a temporary fix for a small crack. Clean and dry the area thoroughly before applying it, and let it cure for the full time listed on the product. However, this is not a permanent solution. The reservoir undergoes temperature changes and physical handling that can reopen the crack. Replacing the reservoir is the better long term choice.
How often should I descale my pod coffee maker?
Descale every two to three months if you use regular tap water. If you use filtered or bottled water, every four to six months is usually enough. Signs that your machine needs descaling include slower brew times, smaller cup sizes, unusual noises during brewing, and leaks from the bottom or sides. Regular descaling prevents mineral buildup from causing these problems.
Is it safe to open my coffee maker and check internal hoses?
Yes, as long as you unplug the machine and let it cool completely before you start. Most pod coffee makers have bottom panels held by standard screws. Be aware that opening the machine may void your warranty depending on the manufacturer’s policy. If your machine is still under warranty, contact the manufacturer for support instead of opening it yourself.
Why does my coffee maker leak water when it is turned off?
A leak with the machine powered off usually means the water reservoir seal is not holding properly. The O ring or gasket at the base of the reservoir may be worn, allowing water to slowly seep past. It can also happen if the reservoir has a crack below the water line. Remove the reservoir, dry the connection area, and inspect the seal carefully.

Hi, I’m Emma Lee — the coffee-obsessed creator behind Morning Drip Vault. I spend my days testing coffee machines, exploring brewing techniques, and reviewing the latest coffee gear. My mission is simple: helping you find the perfect machine to brew your best cup, every single morning.