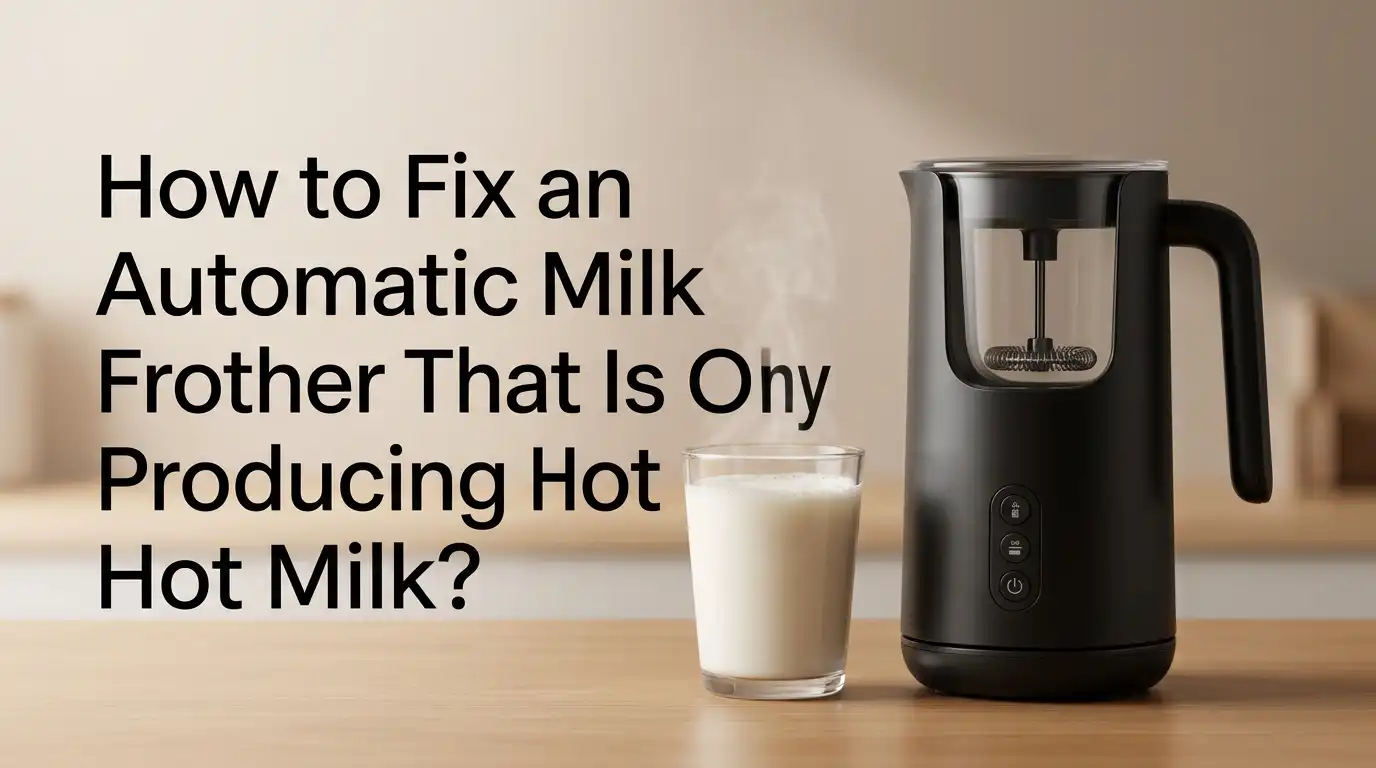
How to Fix an Automatic Milk Frother That Is Only Producing Hot Milk?
You press the button on your automatic milk frother with anticipation. You can already picture the creamy, velvety foam sitting on top of your morning coffee. The machine hums to life. It runs through its cycle.
The light stops blinking. You lift the lid and your heart sinks. There is no foam. Just a jug of plain hot milk staring back at you.
This frustrating scenario plays out in kitchens around the world every single day. But here is the good news. Your frother is almost certainly not broken beyond repair.
Key Takeaways:
- A clogged whisk is the number one culprit. When your frother heats milk but creates zero foam, dried milk residue caked around the magnetic whisk or the spindle underneath it is preventing the whisk from spinning at full speed. A thorough cleaning fixes this in over 70 percent of cases.
- The milk you use matters more than you think. Whole dairy milk with at least 3 percent fat content creates the best, most stable foam. Skim milk, ultra-pasteurized milk, and many plant-based milks often fail to produce proper froth. Switching to fresh, full-fat milk can solve the problem instantly without any mechanical fixes.
- The whisk attachment itself may be damaged or detached. Magnetic whisk rings can lose their magnetism over time. The coil spring on the whisk can become permanently bent or broken. Sometimes the whisk simply was not pushed down firmly enough onto the spindle. Always check the whisk connection first.
- Mineral buildup from hard water silently kills frothing performance. Over months of use, calcium and limescale coat the heating plate at the bottom of the jug. This interferes with the magnetic drive system that spins the whisk. Regular descaling with vinegar or citric acid restores full function.
- Overfilling the frother is a surprisingly common mistake. Every automatic frother has a maximum fill line. Exceeding it means there is not enough space for air to be whipped into the milk. Too little milk can also cause problems because the whisk cannot reach it properly. Always fill exactly between the minimum and maximum lines.
- You can test your frother without wasting milk. Fill the jug with plain cold water and a single drop of dish soap. Run a cycle. If you see foam and bubbles, the whisk and motor are working fine. The problem lies with your milk choice rather than the machine itself.
How an Automatic Milk Frother Actually Works
Before you start fixing anything, it helps to understand what happens inside your frother. An automatic electric milk frother is a simple device with two core functions. It heats the milk and it spins a whisk to whip air into the milk.
These two functions operate at the same time. A heating element at the base of the jug warms the milk to around 140 to 160 degrees Fahrenheit. At the same time, a small motor under the base spins a magnet.
This magnet couples with a magnetic whisk sitting inside the jug. As the whisk spins rapidly, it pulls air from the surface down into the milk. The proteins in the milk then trap these tiny air bubbles. This is what creates the foam.
When your frother produces only hot milk with no froth, one of these two systems has failed. Either the heating works but the whisk does not spin, or the whisk spins but something prevents foam from forming. Understanding this simple mechanism helps you narrow down the problem quickly.
Check the Whisk Attachment First
The single most common reason an automatic frother produces hot milk without foam is a loose or improperly seated whisk. The magnetic whisk sits on a small metal spindle in the center of the jug. It must be pushed down firmly until you feel or hear a small click.
If the whisk is even slightly loose, the magnetic coupling between the motor and the whisk will be weak. The motor spins underneath but the whisk barely moves. You get heat but no agitation. No agitation means no air gets mixed into the milk.
The result is plain hot milk. Pull the whisk off completely. Inspect the center hole of the whisk for any dried milk that might prevent it from seating correctly. Wipe the metal spindle with a damp cloth. Then push the whisk back on with firm, even pressure.
Pros: Takes under 30 seconds to check. Costs nothing. Solves a huge percentage of cases.
Cons: A bent whisk shaft is not fixable and requires a replacement part.
Clean the Whisk and the Inside of the Jug Thoroughly
Milk residue is the silent enemy of every automatic frother. Every time you use the machine, a thin film of milk proteins and fats coats the whisk, the spindle, and the bottom of the jug. Over time, this film bakes onto the surface from repeated heating cycles.
It becomes a hard, yellowish layer that is invisible at first glance but thick enough to jam the whisk. The whisk may still spin, but it spins slowly. Slow spinning cannot whip enough air into the milk to create foam.
To fix this, remove the whisk and soak it in a cup of hot water with a few drops of dish soap for 10 minutes. Use an old toothbrush to scrub every part of the whisk, especially the spring coil area. Milk residue loves to hide inside those coils.
For the jug itself, fill it with warm soapy water and let it sit for 15 minutes. Then use a soft sponge to scrub the bottom plate and the sides. Pay special attention to the center spindle area.
Pros: Solves the problem in the majority of cases. Uses only soap and water.
Cons: Requires disassembly and manual scrubbing. Burnt-on residue may need multiple cleaning sessions.
Descale the Frother to Remove Mineral Buildup
If you live in an area with hard water, mineral deposits are almost certainly accumulating inside your frother. Calcium and limescale coat the heating plate at the bottom of the jug. This creates a rough, uneven surface that interferes with the magnetic drive system.
The motor has to work harder to spin the whisk through the mineral layer. Over time, the magnetic coupling weakens to the point where the whisk barely spins at all. The heating element still works fine, which is why you get hot milk but no froth.
Descaling is simple. Fill the frother with a mixture of half white vinegar and half water. Do not exceed the maximum fill line. Run a full heating cycle. The vinegar solution will break down the mineral deposits. After the cycle finishes, discard the solution.
Fill the jug with clean water and run another cycle to rinse. Repeat the rinse cycle two more times to make sure no vinegar taste remains. For stubborn scale, let the vinegar solution sit in the jug for 30 minutes before running the cycle.
Pros: Restores full magnetic drive strength. Very inexpensive. Extends frother lifespan.
Cons: Vinegar leaves a strong smell that requires multiple rinse cycles. Descaling too frequently can wear down seals.
Test Your Frother with the Water and Soap Method
Before you start taking things apart or buying replacement parts, run a simple diagnostic test. This test tells you instantly whether the problem is with the machine or with your milk. Fill the frother jug with cold water up to the lower fill line.
Add exactly one drop of liquid dish soap. Place the frothing whisk securely onto the spindle. Close the lid and start a frothing cycle. Watch what happens. If the water turns into a mountain of soapy bubbles and foam, your frother is working perfectly.
The motor spins the whisk at full speed. The heating element works. The problem is definitely with your milk, not your machine. If the water barely bubbles and the whisk sounds sluggish or does not spin at all, you have confirmed a mechanical issue inside the frother.
This could be the whisk attachment, the magnetic drive system, or the motor itself. The water and soap test saves you from wasting cartons of milk trying different things. It gives you a clear answer in under two minutes. Run this test before you try any other fixes. It narrows down the possible causes dramatically.
Pros: Fast, free, and definitive. Uses items you already have at home.
Cons: Soap residue must be rinsed out very thoroughly before making drinks again. A single trace of soap will ruin your next coffee.
Use the Right Type and Temperature of Milk
Milk is not just milk. The type of milk you pour into the frother has a massive impact on the foam it produces. Dairy milk contains two proteins called casein and whey. These proteins unfold during the frothing process and form a net that traps air bubbles.
This is what creates stable, creamy foam. Whole milk with 3 to 4 percent fat content creates the richest, most stable foam. The fat adds body and creaminess. Reduced-fat milk with 2 percent fat also froths well but produces a lighter, airier foam.
Skim milk creates a lot of foam volume but the foam collapses quickly because there is no fat to stabilize it. The biggest hidden problem is ultra-pasteurized milk. Ultra-pasteurization heats milk to a very high temperature to extend shelf life.
This process damages the milk proteins. Damaged proteins cannot form a proper foam structure. If your frother suddenly stopped working, check if you recently switched to a different brand or type of milk. Also make sure your milk is fresh and cold.
Pros: Changing milk costs nothing extra. Often solves the problem instantly.
Cons: Plant-based milks can be inconsistent. You may need to try several brands of oat or soy milk before finding one that froths well.
Understand Why Plant-Based Milks Struggle to Froth
Many people switch to oat milk, almond milk, or soy milk for dietary or environmental reasons. Then they wonder why their frother suddenly produces only hot liquid. Plant-based milks lack the natural casein and whey proteins found in dairy milk.
Without these proteins, there is nothing to stabilize the air bubbles whipped into the liquid. The bubbles form briefly and then pop almost immediately. You end up with hot plant milk and a thin layer of disappearing bubbles.
Some plant-based milks now come in “barista” versions. These barista blends have added proteins, emulsifiers, and stabilizers that mimic dairy milk’s frothing behavior. Oatly Barista, Califia Barista, and similar products froth much better than standard plant milks.
Soy milk with added protein also froths decently. Almond milk is the most difficult to froth because it has very little protein and fat. Coconut milk from a carton is too thin but canned coconut milk froths surprisingly well due to its high fat content.
Pros: Barista blends now make plant-based frothing possible for vegans and those with dairy intolerance.
Cons: Barista blends cost more than regular plant milks. Availability varies by region. Some still do not froth as well as whole dairy milk.
Check the Fill Level Inside the Frother Jug
Every automatic milk frother has two markings on the inside wall of the jug. One is the maximum fill line for frothing. The other is a slightly higher maximum fill line for heating milk without frothing. These lines exist for a reason. Frothing requires space.
When the whisk spins, it pulls air from above the milk surface down into the liquid. If the jug is overfilled, there is no air pocket above the milk. The whisk churns away but cannot pull any air in. You get hot milk with zero foam.
This is one of the most common mistakes people make. They fill the jug to the top thinking more milk means more foam. The opposite is true. For proper frothing, fill the jug only to the lower maximum line, which is usually about halfway up the jug.
If you need more milk for a larger drink, you will have to froth in two batches. Conversely, using too little milk also causes problems. If the milk level is below the minimum required, the whisk may not be fully submerged.
Pros: Takes two seconds to check and adjust. Costs nothing.
Cons: Some smaller frothers have limited capacity, which means frothing for multiple people requires multiple cycles.
Inspect the Whisk for Physical Damage
The frothing whisk is a delicate part. It consists of a plastic ring with a magnet embedded in the base and a metal spring coil wrapped around the top. This coil is what whips air into the milk. Over time, the coil can become bent out of shape.
If you have ever dropped the whisk on a hard floor or put it through a dishwasher cycle, the coil may have been permanently deformed. A bent coil cannot spin evenly. It wobbles and fails to create the right amount of agitation.
Similarly, the magnet inside the whisk ring can lose its strength over time. This happens from repeated exposure to high heat. A weak magnet means a weak connection to the motor underneath the jug. The whisk spins sluggishly or not at all. Inspect the whisk under good light.
Pros: Replacement whisks are inexpensive and easy to install.
Cons: Finding the exact match for older or discontinued models can be difficult. Some third-party replacements do not fit properly.
Look for a Faulty Magnetic Drive System
Inside the base of the frother, underneath the jug, sits a small electric motor with a magnet attached to its shaft. When you press the start button, this motor spins the magnet under the base.
The magnetic field passes through the bottom of the jug and couples with the magnet inside the whisk. This is how the whisk spins without any physical connection through the jug wall. It is called a magnetic drive coupling.
If the motor magnet loses strength or if the motor itself fails, the coupling weakens. The heating element continues to work normally because it runs on a separate circuit. You get hot milk but no spinning whisk.
Diagnosing a faulty motor at home is difficult. Listen closely when you start a cycle. You should hear a soft humming or whirring sound from the base. A healthy motor makes a smooth, consistent sound. A failing motor may make a grinding noise, a rattling sound, or no sound at all.
Pros: Knowing this helps you stop wasting time on fixes that will not work when the motor is truly dead.
Cons: Motor replacement is rarely practical. Most frothers in this condition need to be replaced entirely.
Check the Power Supply and Base Connections
It sounds obvious, but a bad electrical connection can cause strange behavior in an automatic frother. Many frothers sit on a powered base station. The jug makes electrical contact with the base through metal pins or a circular connector.
If these contacts are dirty, corroded, or not seated properly, the frother may receive enough power to run the heating element but not enough to spin the motor at full speed. Unplug the base from the wall. Wipe the metal contacts on both the jug and the base with a dry cloth.
Look for any signs of corrosion, which appears as a green or white powdery substance. If you see corrosion, clean it gently with a cotton swab dipped in a tiny amount of white vinegar. Dry the contacts completely before plugging the base back in.
Pros: No tools needed. Takes less than a minute. Solves intermittent electrical issues.
Cons: Corroded contacts may need replacement if the corrosion is deep. This requires professional repair.
Perform a Deep Clean Soak Overnight
When regular cleaning does not restore frothing performance, the problem may be deeply embedded milk residue in areas you cannot easily see or reach. The gap between the whisk and the spindle, the tiny holes in the whisk base, and the seam where the bottom plate meets the jug wall all trap milk proteins that bake on over time.
These deposits become rock hard. A quick wash with soap and water will not touch them. An overnight deep clean soak can work wonders. Remove the whisk from the jug. Fill the jug with warm water and add two tablespoons of baking soda or a dishwasher tablet.
Stir to dissolve. Let the jug sit overnight. The baking soda slowly breaks down the burnt milk proteins. In the morning, empty the jug and scrub every surface with a soft sponge. Pay extra attention to the bottom plate and the spindle.
Pros: Extremely effective for stubborn buildup. Uses common kitchen ingredients.
Cons: Takes overnight, so you cannot use the frother until the next day. Vinegar smell needs thorough rinsing.
When to Accept That the Frother Needs Replacement
Sometimes you do everything right and the frother still does not work. There is a point where continued troubleshooting becomes a waste of time and effort. Recognizing this point saves you frustration.
If you have done all of the following and still get only hot milk with no foam, the frother has likely reached the end of its useful life. You have cleaned the whisk, spindle, and jug thoroughly. You have descaled with vinegar. You have tested with the water and soap method.
You have tried fresh whole milk. You have checked that the whisk is properly seated and undamaged. You have verified the power connection. The machine still only produces hot milk. At this stage, the issue is likely an internal component failure.
The motor, the magnetic coupling, or the control board has failed in a way that is not worth repairing. Most consumer milk frothers are not designed to be opened and repaired by users.
Prevent the Problem from Happening Again
Once you have fixed your frother or bought a new one, build a few simple habits that prevent the issue from returning. Clean the frother immediately after every use. Do not let milk sit in the jug for hours.
Rinse the jug and the whisk with warm water within minutes of finishing your drink. Once a week, do a more thorough clean with soap and a soft sponge. If you have hard water, descale the frother once a month.
Mark it on your calendar or set a phone reminder. Always use fresh, cold milk. Do not let milk sit in the refrigerator door where temperatures fluctuate. The main compartment of the fridge keeps milk colder and fresher.
Frequently Asked Questions
Why does my frother heat the milk but the whisk does not spin?
The most likely cause is that the whisk is not seated properly on the spindle. Pull it off, clean the spindle tip, and push the whisk back on firmly until it clicks. Also check that you are using the frothing whisk with the spring coil and not the stirring disc. If the whisk is seated correctly and still does not spin, the magnetic drive motor under the jug may have failed. Test with the water and soap method to confirm.
Can I use oat milk or almond milk in an automatic frother?
Yes, but standard oat milk and almond milk often fail to produce stable foam because they lack the proteins found in dairy milk. Look specifically for barista edition plant milks. These have added proteins and stabilizers that help them froth. Oatly Barista and Califia Barista are two popular options that work well in most automatic frothers. Experiment with different brands to find one that works with your specific machine.
How often should I descale my milk frother?
If you have hard water, descale the frother once a month. If you have soft water, descaling every 2 to 3 months is usually enough. Look for white chalky deposits on the bottom of the jug as a sign that descaling is needed. Use a mixture of half white vinegar and half water, or a commercial descaling product made for coffee equipment.
My frother worked perfectly with the same milk for months and suddenly stopped. What changed?
This is often caused by a gradual buildup of milk residue or mineral scale that finally reached a tipping point. The whisk was slowly getting slower over weeks and you only noticed when it stopped producing foam entirely. A thorough deep clean and descaling usually restores function. Also check if you unknowingly bought a different batch or brand of milk that may be ultra-pasteurized.
How long should an automatic milk frother last?
With proper care and regular cleaning, a quality automatic milk frother should last between 3 and 5 years. Budget models may last 1 to 2 years. The most common failure point is the magnetic drive motor, which cannot be repaired at home. Cleaning after every use and descaling monthly are the two most effective ways to extend the life of your frother.
Is it safe to put the whisk in the dishwasher?
Check your frother’s instruction manual. Some manufacturers say the whisk is dishwasher safe. Others recommend hand washing only. Even if the manual allows it, hand washing is gentler on the whisk. The high heat and strong detergents in a dishwasher can weaken the magnet over time and cause the spring coil to lose its shape. Hand washing with warm soapy water takes only 30 seconds and is safer for the part.

Hi, I’m Emma Lee — the coffee-obsessed creator behind Morning Drip Vault. I spend my days testing coffee machines, exploring brewing techniques, and reviewing the latest coffee gear. My mission is simple: helping you find the perfect machine to brew your best cup, every single morning.