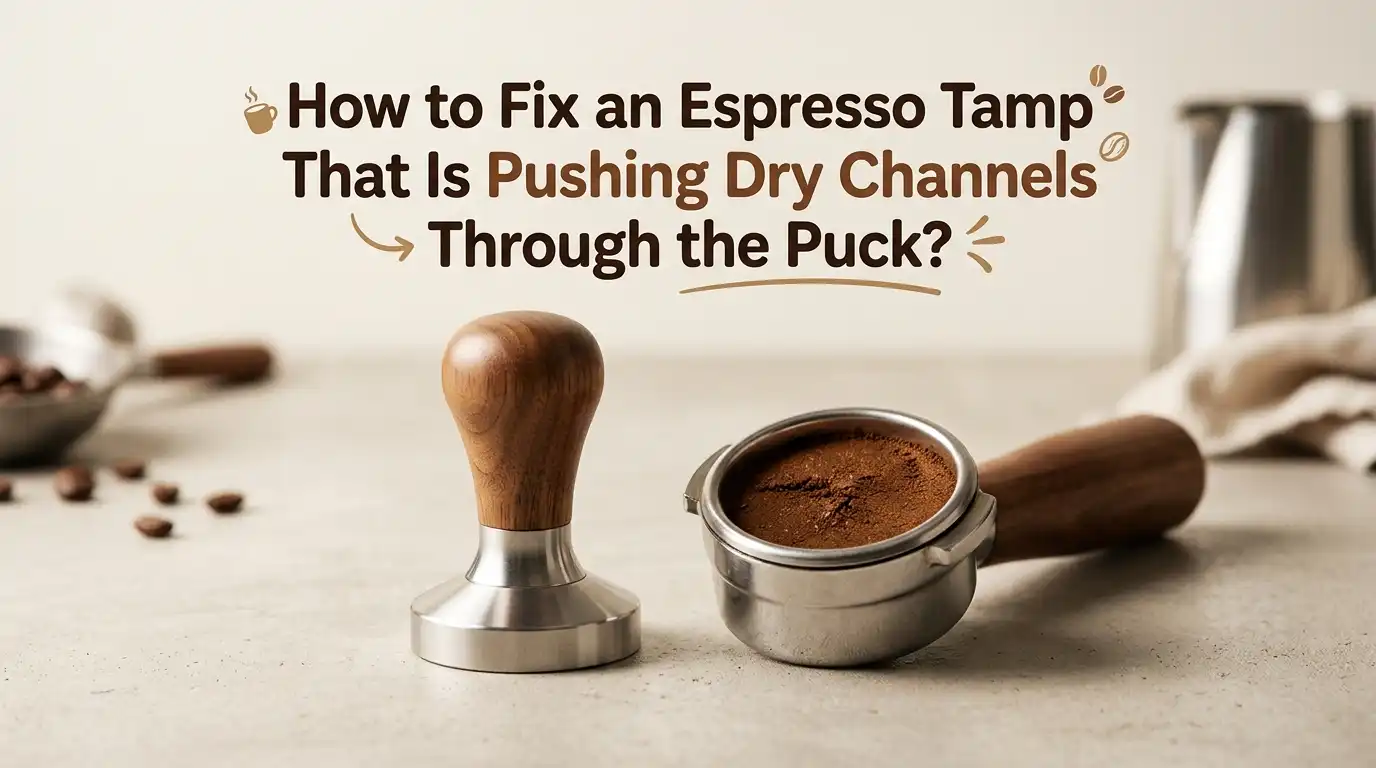
How to Fix an Espresso Tamp That Is Pushing Dry Channels Through the Puck?
You just pulled an espresso shot. You flip the portafilter over and notice dry, untouched patches running through your puck. Some areas look dark and saturated. Others look pale and bone dry.
That is a clear sign of channeling. Water found shortcuts through your coffee bed instead of flowing evenly through every particle. The result? A shot that tastes both bitter and sour at the same time, with zero clarity or balance.
Dry channels mean your tamp, your distribution, or your grind is creating weak spots. Water under 9 bars of pressure is lazy. It will always take the easiest path.
In a Nutshell
- Uneven distribution is the number one cause of channeling. If your coffee grounds have clumps or density pockets before you tamp, pressing them flat will not fix the problem. The clumps stay hidden under the surface. Water hits those dense spots and detours around them, leaving dry patches behind.
- Tamping too hard or at an angle makes things worse. You only need about 30 pounds of pressure to reach maximum puck density. Pressing harder adds stress to your wrist without improving extraction. A tilted tamp creates one thick side and one thin side, and water will flood the thin side every time.
- A WDT tool is one of the cheapest and most effective fixes. The Weiss Distribution Technique uses thin needles to break up clumps and spread grounds evenly inside the basket. This single step can eliminate most channeling problems.
- Grind size plays a major role. Coffee ground too fine creates excessive resistance. Water struggles to pass through the dense areas and punches through any weak point it can find. Adjusting your grind slightly coarser can reduce channeling while still producing a balanced shot.
- Tools like puck screens and dosing funnels support a cleaner workflow. A puck screen distributes water evenly across the top of the puck. A dosing funnel keeps grounds inside the basket during stirring and prep.
- Consistency beats perfection. Pick a routine that works for you and stick with it every single time. Changing your prep steps from shot to shot makes it impossible to diagnose what is going wrong.
What Are Dry Channels and Why Do They Form in Your Espresso Puck
Dry channels are paths of least resistance inside your coffee puck. They appear as pale, untouched streaks or patches when you examine the spent puck after pulling a shot. These areas received little or no water during extraction because the water found an easier route elsewhere.
Channeling happens at the microscopic level first. A tiny crack, a hidden clump, or a gap near the basket wall gives the pressurized water a head start.
Once the water starts flowing through that weak spot, it actually erodes the surrounding grounds and makes the channel wider. This is sometimes called the avalanche effect. A small crack becomes a canyon in seconds.
The dry areas of the puck never get properly extracted. The wet areas get over extracted. You end up with a shot that tastes confused. Sour flavors from under extraction mix with bitter notes from over extraction. Neither flavor is clean, and the entire shot lacks sweetness and balance.
How Your Tamping Technique Causes Channeling
Many home baristas blame the tamp first, and they are often right. A crooked tamp is one of the fastest ways to create a channel. If you press down at even a slight angle, one side of the puck becomes denser than the other. Water floods the less compressed side and avoids the denser half entirely.
The fix starts with your body position. Stand directly in front of your portafilter. Keep your elbow at a 90 degree angle. Press straight down with even force. Do not twist or polish at the end because this can dislodge grounds near the edges.
You also do not need to tamp as hard as you might think. Research and barista consensus suggest that about 30 pounds of pressure reaches maximum puck density. Pressing harder does not compress the coffee further. It just adds strain to your joints. The goal is a flat, level surface every single time.
Pros of fixing your tamp technique: Free, immediate improvement, no tools required.
Cons: Requires practice and muscle memory, hard to be perfectly consistent by hand.
Why Uneven Distribution Matters More Than Tamp Pressure
Here is a truth many beginners miss: distribution matters more than how hard you press. You can tamp with perfect pressure and a perfectly level surface, but if there are clumps hiding inside the basket, the water will still channel around them.
Most espresso grinders produce some amount of clumping. Static electricity causes fine particles to stick together and form tiny “boulders” inside the basket. These clumps are denser than the surrounding loose grounds. Water treats them like rocks in a stream and flows around them instead of through them.
If you dump your grounds into the portafilter and immediately tamp, you lock those clumps in place. The surface looks smooth, but the internal structure is uneven.
This is why so many baristas say that great espresso starts before the tamp, not during it. Breaking up those clumps and spreading the grounds evenly throughout the basket is the single most important step you can take to prevent dry channels.
How to Use the Weiss Distribution Technique to Eliminate Clumps
The Weiss Distribution Technique (WDT) was invented in 2005 by John Weiss, a computer science professor who was frustrated with clumpy grinds. His original tool was simple: a few thin needles stuck into a wine cork. Today, purpose built WDT tools with 0.35mm stainless steel needles are widely available and affordable.
To use WDT properly, push the needles all the way to the bottom of the basket first. Do not just stir the surface. Hidden clumps often settle near the base where you cannot see them. Stir in tight circles, working from the bottom up. If the needles catch or stutter, you have found a clump. Keep stirring until the resistance disappears and the needles glide smoothly.
Pay extra attention to the edges of the basket. Use the needles to gently rake grounds from the center out to the walls. A gap between the coffee and the basket wall, even a fraction of a millimeter, creates a highway for pressurized water to escape. This is called the “wall effect” and causes side channeling.
When you finish, slowly pull the tool upward with tiny circular motions. Do not yank it out. A sudden pull can create a crater in the middle of the bed.
Pros of WDT: Extremely effective, inexpensive, addresses the root cause of most channeling.
Cons: Adds 10 to 15 seconds to your routine, requires practice to avoid creating new problems.
How Grind Size Affects Channeling and Dry Spots
Grind size and channeling have a direct relationship. Coffee ground too fine creates a puck with very high resistance. The water struggles to push through the dense bed evenly. It probes for any tiny weak spot and punches through it with force, creating a channel.
If your shots are running longer than 35 seconds and you see dry patches in the puck, try adjusting your grinder one or two clicks coarser. A good target is a shot time between 25 and 35 seconds for a standard 1:2 brew ratio. For example, 18 grams of coffee in, 36 grams of liquid out.
On the other hand, grinding too coarse creates its own set of problems. The water flows too quickly and under extracts the entire puck, producing a thin and sour shot. The sweet spot sits in the middle where the water meets enough resistance to extract flavor evenly but not so much resistance that it needs to find a shortcut.
Fresh coffee also matters here. Beans that are more than three to four weeks past roast produce less CO2 during extraction. This can change how water interacts with the puck and may require a small grind adjustment.
Pros of adjusting grind size: Directly impacts extraction time and evenness, easy to test.
Cons: Requires a grinder with fine adjustment capability, takes multiple shots to dial in.
The Role of Dose and Basket Size in Preventing Channels
Your basket has a specific capacity range, and filling it outside that range increases channeling risk. An underdosed basket leaves too much headspace between the coffee and the shower screen. Water hits the puck with less even pressure, and the loose bed shifts more easily during extraction.
An overdosed basket creates the opposite problem. The puck is too thick and too close to the shower screen. Water cannot distribute evenly across the surface before it starts pushing through the grounds. This often causes the center of the puck to channel first.
Most double baskets work best with 16 to 20 grams of coffee, depending on the specific basket model. Weigh your dose every time with a scale accurate to 0.1 grams. Even a one gram difference can change how the puck behaves under pressure. Consistency in dosing is one of the simplest ways to reduce shot to shot variation.
Pros of correct dosing: Improves puck structure, easy to control with a scale.
Cons: Requires a precision scale and knowledge of your specific basket capacity.
How a Puck Screen Helps Distribute Water Evenly
A puck screen is a thin metal mesh disc that sits on top of your tamped coffee. Its job is to spread the incoming water evenly across the entire surface of the puck. Without a screen, water from the shower screen may hit the puck in an uneven pattern, giving some areas a head start.
The screen acts as a buffer layer. It absorbs the initial force of the water and distributes it laterally before it enters the coffee. This reduces the chance of a single point of high pressure punching through a weak spot.
Puck screens also keep the shower screen of your espresso machine cleaner. Spent coffee grounds do not stick to the group head, which makes maintenance easier between shots. However, a dirty or clogged puck screen can actually cause channeling. Clean it regularly with warm water and a brush to keep it functioning properly.
Pros of puck screens: Improved water distribution, cleaner group head, easy to use.
Cons: Must be cleaned after every use, adds a small extra step, can cause issues if clogged.
Why Tapping the Portafilter Can Create Side Channels
Many baristas tap the side of the portafilter to settle the grounds before tamping. This looks professional, but it can be a trap. Side tapping dislodges the coffee from the basket walls. It creates a tiny gap between the grounds and the metal edge.
Even a gap of 0.5mm is enough for pressurized water to exploit. The water rushes down the sides of the basket instead of flowing through the center of the puck. If you use a bottomless portafilter, you can see this happening. Espresso pools at the edges while the center stays dark and dry.
A single gentle vertical tap on your tamping mat after WDT is fine. This settles the fluffy grounds without shifting them away from the walls. Avoid any side to side tapping. If you need to level the bed, use a distribution tool or your WDT needles to rake grounds evenly from center to edge.
Pros of eliminating side tapping: Removes a common source of edge channeling, free fix.
Cons: Requires breaking an old habit, may feel unnatural at first.
How a Spring Loaded or Calibrated Tamper Improves Consistency
Hand tamping introduces a human variable that changes from shot to shot. A spring loaded tamper removes the guesswork. It is calibrated to apply a set amount of pressure, usually around 30 pounds, and stops compressing once it reaches that point.
Many calibrated tampers also include a self leveling feature. A lip or flange rests on the rim of the portafilter basket and ensures the tamper goes in perfectly straight every time. This makes it physically impossible to tamp at an angle, which eliminates one of the most common causes of channeling.
If your shots are inconsistent even with good distribution, a calibrated tamper can be the missing piece. It means that if a shot runs too fast or too slow, you know the tamp was not the issue. You can focus on adjusting grind size or dose instead of wondering whether you pressed hard enough.
Pros of calibrated tampers: Perfectly level and consistent tamp every time, reduces variables.
Cons: More expensive than a standard tamper, still requires good distribution beforehand.
How to Use a Dosing Funnel to Keep Your Puck Prep Clean
A dosing funnel sits on top of your portafilter and creates a raised wall around the basket opening. Its main purpose is to prevent grounds from spilling over the edge during grinding and WDT stirring.
This seems like a small convenience, but it has a real impact on puck quality. Without a funnel, you tend to stir cautiously to avoid making a mess. You do not push your WDT tool to the edges because you fear losing coffee over the rim. With a funnel in place, you can stir freely and aggressively, reaching every corner of the basket including the critical perimeter zone.
A funnel also helps maintain an accurate dose. If grounds fly out during stirring, you lose coffee and change your brew ratio without realizing it. Keeping every particle inside the basket means your 18 gram dose stays an 18 gram dose from prep to pull.
Pros of dosing funnels: Cleaner workflow, enables better WDT, preserves dose accuracy.
Cons: Must match your portafilter diameter, adds one more item to your setup.
The Importance of Fresh Coffee Beans in Reducing Channeling
Stale coffee behaves differently under pressure. Beans that are too old lose the CO2 that helps create a stable puck structure during extraction. Fresh beans release CO2 as the water hits them, which creates a gentle back pressure that supports even flow through the bed.
With old beans, the puck can feel “dead.” The water encounters less resistance and finds weak spots more easily. This leads to faster shot times and increased channeling even if your prep technique is solid.
For best results, use beans between 7 and 28 days after the roast date. Anything fresher than 7 days may produce too much CO2, causing an erratic and bubbly extraction. Anything older than 4 weeks may not have enough gas to support proper extraction dynamics. Store your beans in an airtight container at room temperature, away from light and moisture.
A Step by Step Routine to Prevent Dry Channels Every Time
Putting it all together, here is a repeatable workflow that addresses every common cause of channeling:
Step 1: Weigh your dose on a precision scale. Use the amount recommended for your basket, usually 16 to 20 grams for a double.
Step 2: Grind directly into the portafilter or a dosing cup. If your grinder produces static, try the Ross Droplet Technique by spraying a fine mist of water on the beans before grinding.
Step 3: Place a dosing funnel on the portafilter. Insert your WDT tool and push the needles to the bottom. Stir in tight circles from bottom to top, breaking every clump. Rake grounds toward the edges to fill the perimeter.
Step 4: Remove the WDT tool slowly with tiny surface circles. Give the portafilter one gentle vertical tap on your mat to settle the bed.
Step 5: Tamp with level, even pressure using a calibrated tamper if possible. Press until the spring engages or until you feel maximum resistance. Do not twist.
Step 6: Place a clean puck screen on top of the tamped coffee. Lock the portafilter into the group head and start your shot immediately.
Step 7: Watch the extraction through a bottomless portafilter. Look for even flow across the entire basket. If you see spurts, dead spots, or early dripping on one side, adjust your prep on the next shot.
Common Mistakes That Keep Causing Dry Channels
Even experienced home baristas fall into habits that sabotage their puck. Rushing through WDT is the most frequent mistake. If you only stir the surface for two seconds, you are not reaching the clumps at the bottom.
Changing multiple variables at once makes troubleshooting impossible. If you adjust grind size, dose, and tamp pressure on the same shot, you will not know which change made a difference. Adjust one thing at a time and pull two or three shots before changing anything else.
Neglecting equipment cleanliness also causes problems. Old coffee oils on your basket, screen, or group head can create uneven surfaces that redirect water flow. A quick rinse after each shot and a thorough cleaning weekly will keep everything performing the way it should. Do not overlook your WDT needles either. Coffee dust and oils build up on the needles and cause them to drag rather than slice through the grounds.
Frequently Asked Questions
How can I tell if my espresso puck has dry channels?
Look at the spent puck after you pull a shot. Dry channels show up as pale, light colored streaks or patches that contrast with the darker, saturated areas. You may also see a visible hole or tunnel running through the puck. If you use a bottomless portafilter, watch for uneven dripping, spurts, or dead zones during extraction. These are real time signs that water is channeling through specific weak points instead of flowing evenly.
Does tamping harder fix channeling problems?
No. Tamping harder does not solve channeling. Once you reach about 30 pounds of pressure, the coffee is at maximum density and cannot compress further. Extra force only strains your wrist. Channeling is almost always caused by uneven distribution, not insufficient tamping pressure. A level, consistent tamp matters far more than a forceful one.
Can a WDT tool make channeling worse?
It can if you use it incorrectly. Needles that are too thick (over 0.5mm) will push coffee around instead of slicing through clumps. Yanking the tool out too fast can create a crater or void in the center of the bed. Using the tool only on the surface misses the clumps hiding at the bottom. Use 0.35mm needles, start at the bottom, and exit slowly with small circles.
Should I use a puck screen every time?
A puck screen helps distribute water more evenly across the top of the puck, which can reduce channeling. However, it is not a replacement for good distribution and tamping. If your puck prep is already solid, a screen adds a small improvement. If your prep is sloppy, a screen alone will not fix the problem. Always keep the screen clean because a clogged screen can actually cause channeling.
How do I know if my grind is too fine and causing channels?
If your shot runs longer than 35 seconds, drips unevenly, and the spent puck shows dry patches surrounded by very dark wet areas, your grind is likely too fine. The excessive resistance forces water to find shortcuts. Try adjusting one click coarser and pull another shot. A well dialed grind should produce a shot between 25 and 35 seconds at a 1:2 ratio with even flow from the basket.
What is the best order for espresso puck preparation steps?
The most effective order is: weigh your dose, grind, use WDT to distribute and declump, settle with a gentle vertical tap, tamp level, and add a puck screen. Each step builds on the previous one. Skipping WDT or rushing the tamp undermines everything that came before it. Stick with the same order every time so you can identify which step needs adjustment when a shot goes wrong.

Hi, I’m Emma Lee — the coffee-obsessed creator behind Morning Drip Vault. I spend my days testing coffee machines, exploring brewing techniques, and reviewing the latest coffee gear. My mission is simple: helping you find the perfect machine to brew your best cup, every single morning.