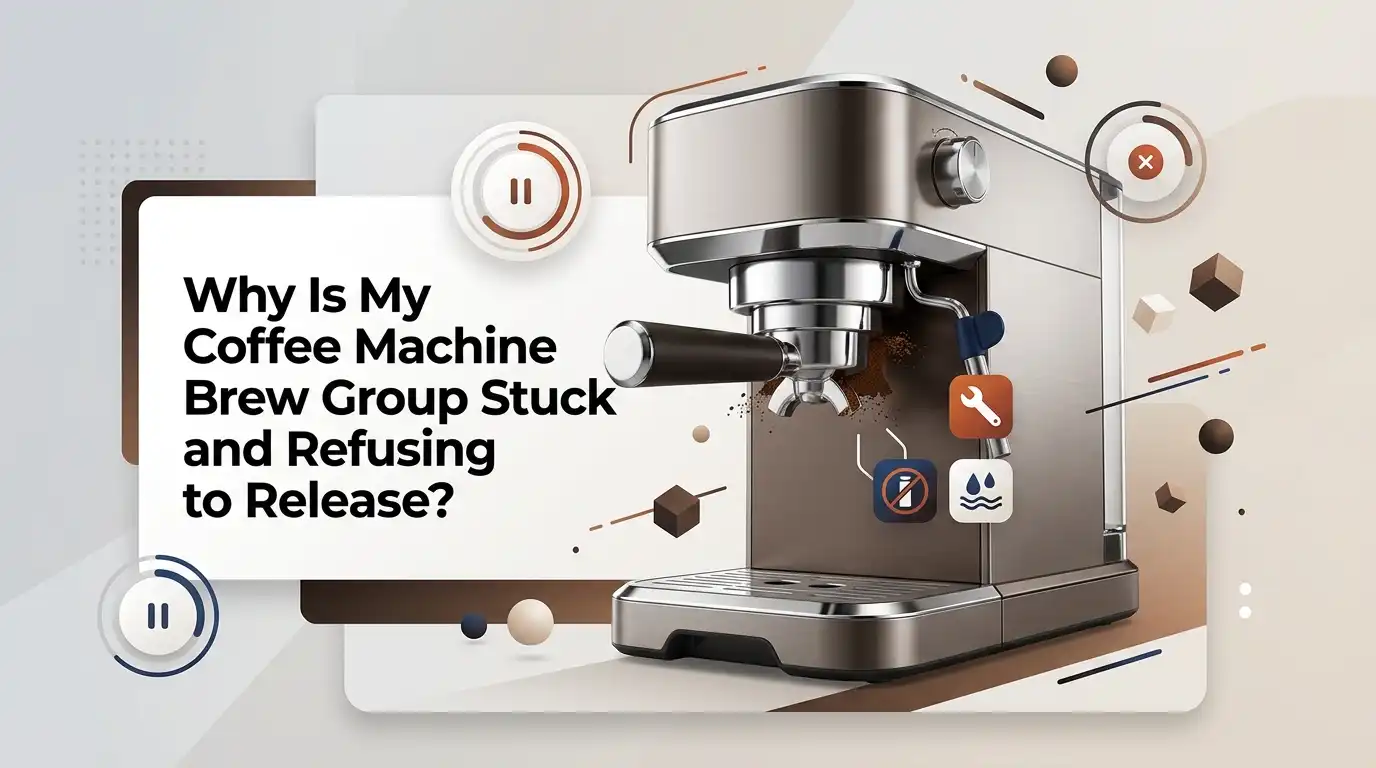
Why Is My Coffee Machine Brew Group Stuck and Refusing to Release?
A stuck brew group can ruin your whole coffee routine in seconds. You open the service door, press the release button, and nothing moves. At that moment, it is easy to think the machine is broken for good.
The good news is that this problem often has a simple cause. The brew group may be out of position. Old coffee oils may be holding it in place.
The machine may still be finishing a cycle you did not notice. That means a calm check can save you time and money.
In a Nutshell
- A stuck brew group usually means the machine is not in its home position. This happens after a power cut, after the machine is switched off too early, or when a brew cycle stops halfway. If the internal parts do not park correctly, the release system cannot do its job.
- Do not pull harder as your first move. A forced pull can crack a latch, bend a guide rail, or damage seals. Gentle pressure is fine. Force is not. Start with a full shut down and restart cycle before you try to remove anything.
- Coffee oils and packed grounds are common causes. Fine grounds can build up around the brew group tracks, the spent puck path, and the door area. Old oil turns sticky. That sticky film slows movement and can lock the group in place.
- Cleaning and light lubrication often solve repeat problems. Many bean to cup machines need regular rinsing of the brew group and light food safe grease on moving rails and shafts. A dry brew group can drag. A dirty one can jam.
- Machine state matters more than people think. If the machine is still in descale mode, rinse mode, or a shut down cycle, the brew group may stay locked. Wait for the machine to finish its sounds and movement before opening the door.
- Some cases do need repair. If you see a cracked handle, worn seals, bent plastic, or a broken latch, cleaning alone will not fix it. That is the point where service makes sense. Stopping early can prevent a small fault from turning into a major one.
What usually makes a brew group get stuck
A brew group gets stuck for a few clear reasons. The most common one is position. The machine expects the brew group to sit in a home spot before it can release.
If power cuts out during brewing, or if the machine is turned off before it parks itself, the group can stop halfway. That half parked position often feels like a hard lock.
Another common cause is dirt. Coffee grounds fall into the track area over time. Coffee oil also builds up on moving parts. That mix becomes sticky and heavy. The release button may still press, but the unit will not slide.
Some machines also lock the brew group during descale or rinse cycles. A tray, grounds bin, or door that is not fully seated can also confuse the machine. Pros of checking these basic causes first: fast, safe, and free. Cons: if a part is broken inside, simple checks will not solve the issue.
Step by step checks before you pull harder
Start with safety and patience. Turn the machine off with its own power button if it still responds. Then unplug it after the shut down sounds stop. Empty the drip tray and grounds container.
Reinsert them fully. Fill and seat the water tank correctly. Close the service door, then reopen it and look for anything obvious. A loose coffee lump can block more than you expect.
Press the release button once and apply only light, steady pressure. Do not yank. If the group does not move, stop and go to the reset steps below. The main goal is to avoid breaking a latch or guide.
A simple visual check helps too. Look for wet clumps of grounds, a crooked handle, or a brew group that sits higher than normal. Pros of this method: low risk and quick. Cons: it only catches surface problems, not hidden faults deeper inside the drive system.
Let the machine finish its full shut down cycle
Many stuck brew groups release after a proper shut down and restart. This matters because the machine uses that cycle to return the brew system to its parking spot. If you unplug too soon, the system may freeze halfway. That is why this step works so often.
Put the drip tray, grounds container, and water tank back in place. Close the service door. Turn the machine on and let it complete startup. Do not open anything while it is moving.
When it becomes ready, turn it off with the front power button. Then wait until every sound stops. Give it a full pause, not a rushed one. After that, open the door and try the release again.
Pros: this is the safest fix and often solves position issues. Cons: it will not help if dried coffee, broken parts, or a damaged gear is the real cause. Still, it should be one of your first moves every time.
Make sure the machine is not stuck in descale or rinse mode
Some coffee machines lock the brew group during descale mode. That is normal behavior. The machine wants to finish the cleaning cycle before you remove any key part. If you try to pull the brew group out during that time, it may feel fully jammed. The problem may be the mode, not the mechanism.
Check the display or lights. Look for descale prompts, rinse alerts, or any message that suggests the machine is in the middle of a process. If you started a descale cycle earlier, finish it before trying again. Do not interrupt it unless the manual says you can.
If the machine is frozen in a cycle, do one proper restart and see whether it returns to normal. Pros of finishing the cycle: low risk and often effective. Cons: it takes time, and if the machine has an electronic fault, the cycle itself may not complete. Still, checking the active mode can save you from a useless struggle.
Reset the brew group to its home position
If the brew group is out of position, the fix is usually a reset to the home spot. This is very common on bean to cup machines.
The idea is simple. You let the machine move its internal drive back to the correct place before you try removal again. A brew group that is not parked cannot release cleanly.
A safe reset starts with the brew group left inside the machine if it is stuck there. Put the tray, grounds bin, and tank back in place. Close the door. Turn the machine off with the power button and wait until all movement stops.
Then turn it on and wait again. After startup finishes, turn it off once more and let it fully park. Only then open the door and press release.
Pros: this targets the root cause on many machines. Cons: it may fail if a sensor, drive gear, or switch is faulty. If repeated reset attempts do nothing, move on to cleaning and inspection instead of forcing it.
Clear packed coffee grounds and old coffee oil
Coffee grounds build up slowly, then cause trouble all at once. Fine particles collect near the rails, behind the brew group, around the chute, and under the moving piston area. Add coffee oil, heat, and moisture, and you get a sticky paste. That paste can hold the brew group like glue.
Use a dry brush or a soft cloth to clean whatever you can reach around the brew group opening. If the brew group comes out partway, clean the visible rails and side walls before trying again.
A vacuum with gentle suction can help with loose dry grounds. Avoid pouring water into the machine body. Water inside the wrong area can create a new problem.
Pros of dry cleaning first: safe, cheap, and effective for many jams. Cons: it takes patience, and it does not fix broken parts or deep blockages you cannot reach. Even so, a clean path gives the brew group its best chance to slide free.
Wash and dry the brew group the right way
If you get the brew group out, clean it well before you put it back. Rinse it under lukewarm water only. Work water through the moving areas and shake out loose residue.
Do not use soap unless your machine maker clearly says it is safe. Many brew groups do best with plain water because strong cleaners can affect seals or leave film. Simple cleaning is often the best cleaning.
Let the brew group air dry fully before reinserting it. A damp brew group can attract fresh grounds and make paste form again. Dry parts move better than wet sticky parts. While it dries, clean the compartment inside the machine with a dry cloth or soft brush.
Pros: this removes oils and loose grounds without much cost. Cons: it needs drying time, and heavy mineral or mechanical issues will remain. Still, regular washing is one of the best ways to stop repeat sticking.
Lubricate the moving parts so they can slide again
A brew group has sliding points, rails, and a piston area that move under pressure. After enough use, those surfaces can dry out. Dry plastic on plastic movement creates drag.
That drag grows, especially when coffee dust sticks to it. A thin layer of the right grease can make a big difference.
Use only food safe grease that your machine type allows. Apply a very light amount on the side rails, the lower shaft, and any moving point the manual shows for lubrication.
More grease is not better. Too much grease traps dirt. Spread a thin film, then move the parts gently by hand if the design allows it.
Pros: smooth movement, less wear, and better long term release. Cons: wrong grease or too much grease can attract debris and create a mess. Done correctly, though, this is one of the most useful fixes for a brew group that feels tight or rough.
Check the drip tray, grounds bin, water tank, and service door
A stuck brew group problem can start outside the brew group itself. Many machines use tray, bin, tank, and door sensors to confirm that everything is in place.
If one part is not seated fully, the machine may not run the parking cycle correctly. Then the brew group stays locked and you assume the problem is inside. Sometimes the real fix is simple alignment.
Remove the drip tray and grounds bin. Empty them. Wipe away any swollen coffee residue on the edges. Reinsert each piece firmly. Do the same with the water tank. Then close the service door fully and make sure nothing blocks it. Listen for a clean click if your model has one.
Pros of this check: quick and very low risk. Cons: it can feel too basic, so people skip it. That is a mistake. A badly seated tray or door can keep a healthy brew group from releasing.
Look for worn seals, bent parts, and broken latches
If cleaning and reset steps do not work, inspect the brew group itself. Look at the handle, side rails, piston area, and locking tabs. If a seal is swollen, a rail is bent, or a latch is cracked, the brew group may bind every time it moves. Mechanical wear changes how the unit sits in the machine.
Check for shiny scrape marks too. They often show where parts rub the wrong way. A damaged seal can make the unit drag. A cracked handle can stop you from applying even pressure. A broken latch should never be forced. If anything looks damaged, stop trying to muscle it out.
Pros of inspection: it helps you spot the real cause before more damage happens. Cons: some faults are small and easy to miss, and internal drive problems may still hide deeper inside. But once broken plastic enters the picture, repair becomes a better choice than repeated force.
Know when a gentle manual move is okay and when to stop
People often ask if they should move the brew group by hand. The answer is yes, but only in a very limited way. A gentle wiggle while pressing the release button can be fine. Light back and forth movement can free dried residue. What is not fine is forcing a locked mechanism past its stop.
If the brew group moves a little and then stops, do not turn that into a tug of war. Go back to cleaning, reset, and alignment steps first. If you see a part sitting crooked, or you hear a hard plastic click, stop. That sound often means stress, not progress.
Pros of a gentle manual nudge: it can help a lightly stuck unit release. Cons: too much force can crack parts, strip a drive point, or damage seals. If the machine has already failed several safe reset attempts, professional service is the wiser next move.
Build a simple routine so the brew group does not stick again
Prevention is easier than rescue. Rinse the brew group on a regular schedule that fits your coffee use. Brush out loose grounds in the compartment often. Empty the tray and grounds bin before they overflow. Lubricate moving parts at the interval your machine type needs. Small habits stop big jams.
Always shut the machine down with its own power button. Let it finish the full stop cycle before unplugging or moving it.
If your home has frequent power cuts, be extra careful after the machine restarts. That is when position problems often begin. Also, never ignore a machine that starts sounding strained or slow.
The best routine is the one you will actually follow. Keep it short and simple. Clean. Dry. Lubricate lightly. Shut down properly. That basic care lowers the chance of another stuck brew group and helps your coffee machine last longer.
FAQs
Can I force the brew group out if I really need coffee now?
No. That is the move most likely to make the repair cost worse. A forced pull can crack the release point, bend guides, or damage seals. Start with a full power cycle, then check for descale mode, tray alignment, and coffee buildup. If the brew group still will not move, stop before you break something. A delayed coffee is better than a broken machine.
Why did this happen right after I unplugged the machine?
That usually points to an incomplete shut down cycle. Many machines need a few extra seconds to park the brew group after you press the power button. If power is cut too soon, the group may stop in the wrong spot and refuse to release later. This is very common after power cuts too. A proper restart and shut down often fixes it.
How often should I clean and lubricate the brew group?
It depends on your machine and how many coffees you make each day. A good basic habit is to rinse the brew group often, clear loose grounds weekly, and lubricate moving parts on a regular schedule with food safe grease approved for your machine type. If movement starts to feel dry or rough, do not wait too long. Regular care lowers friction and reduces repeat sticking.
Should I use soap or a strong cleaner on the brew group?
In most cases, plain lukewarm water is the safest choice for the brew group itself unless your machine maker says otherwise. Strong cleaners can leave residue or affect seals. For coffee oils, use the cleaning method approved for your machine. Simple cleaning usually works best. The goal is to remove residue without creating a new problem.
When should I stop trying to fix it myself?
Stop if you see cracked plastic, a bent rail, a broken latch, swollen seals, or repeated failed resets. Also stop if the machine makes harsh clicking sounds or shows clear electronic faults. At that point, more home force usually adds damage. A trained repair is the better move when the issue has shifted from dirt and position to damaged parts.

Hi, I’m Emma Lee — the coffee-obsessed creator behind Morning Drip Vault. I spend my days testing coffee machines, exploring brewing techniques, and reviewing the latest coffee gear. My mission is simple: helping you find the perfect machine to brew your best cup, every single morning.