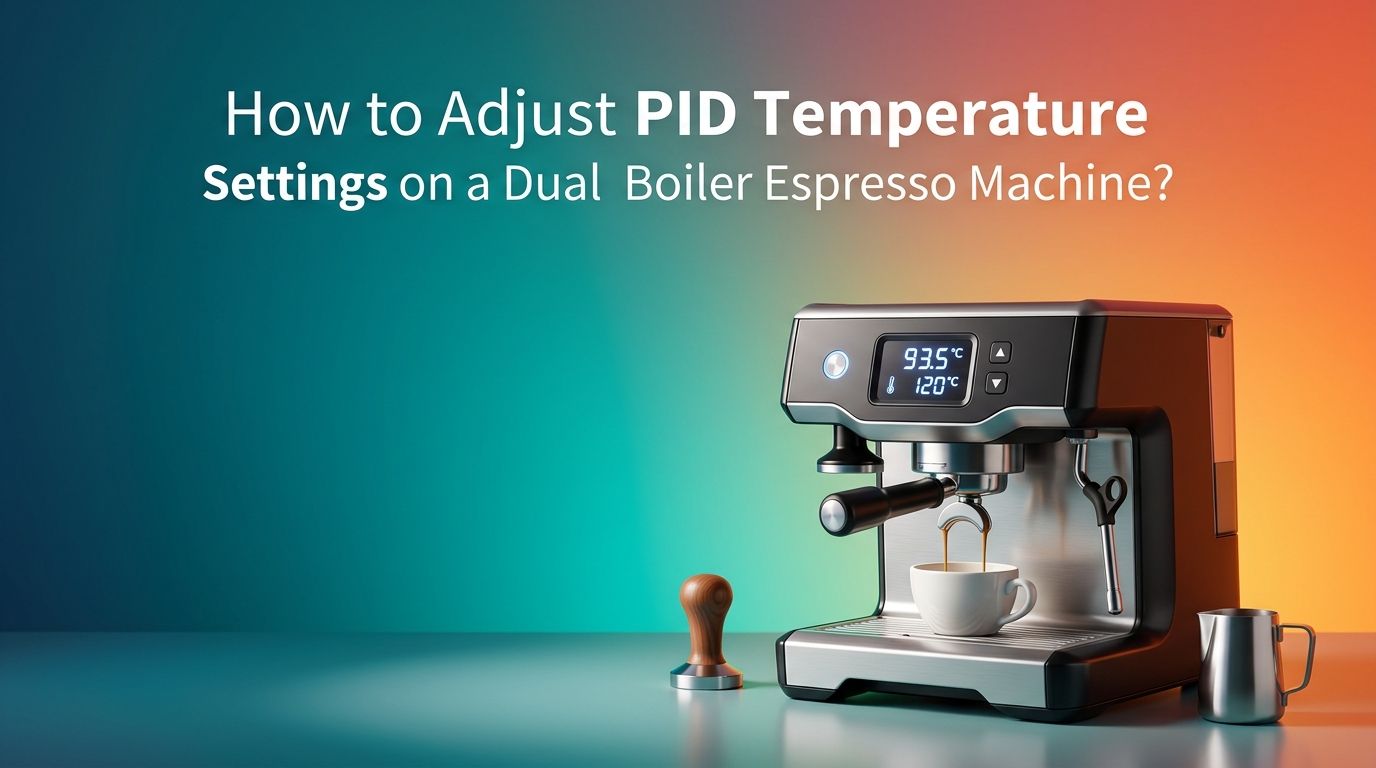
How to Adjust PID Temperature Settings on a Dual Boiler Espresso Machine?
Your dual boiler espresso machine has a PID controller built in for a reason. It gives you direct control over the temperature of both your brew boiler and your steam boiler.
But if the settings are off, your espresso will taste sour, bitter, or flat. Many home baristas leave their PID at factory defaults and never touch it again. That is a missed opportunity.
This guide walks you through every step, from understanding the basics to dialing in the perfect temperature for any roast. If you have struggled with inconsistent shots or confusing PID menus, keep reading.
In a Nutshell
- PID stands for Proportional, Integral, and Derivative. These three functions work together to keep your boiler temperature stable within ±0.5°C of your target. A dual boiler machine runs two separate PID loops: one for brewing and one for steaming.
- Start with the brew boiler temperature. Most espresso extracts best between 90°C and 96°C (194°F to 205°F). Light roasts perform well at higher temperatures like 94°C, while dark roasts taste better around 90°C to 92°C. Set your target and give the machine 20 to 30 minutes to stabilize before pulling a shot.
- The steam boiler runs much hotter. Typical steam boiler settings range from 120°C to 135°C (248°F to 275°F). Higher temperatures produce drier, more powerful steam for quick milk texturing. Lower settings give you slower, wetter steam that some baristas prefer for latte art.
- Only adjust one parameter at a time. If you change the brew temperature and the P value at the same time, you will not know which change caused the result. Make a single adjustment, pull two or three shots, taste them, and then decide on your next move.
- Use a temperature offset if your machine supports it. The boiler sensor reads temperature at one spot, but the water loses heat as it travels to the group head. An offset of 5°C to 10°C accounts for this drop. Check your machine’s manual for the correct offset range.
- Document everything. Write down each setting change and how the shot tasted. Over time, you will build a personal reference that saves hours of guesswork.
How to Understand What PID Means on Your Machine?
PID is an acronym for Proportional, Integral, and Derivative. These are three mathematical functions that your controller uses to maintain a set temperature. The Proportional component reacts to the current gap between the actual temperature and the target. The Integral component corrects small, repeated errors over time. The Derivative component predicts where the temperature is heading and slows down the heater before it overshoots.
On a dual boiler machine, you typically have two independent PID loops. One controls the brew boiler and the other controls the steam boiler. Each loop can have its own target temperature and its own P, I, and D values.
Most machines display the current temperature and allow you to change the set point through a screen or button interface. Some machines also let you access the P, I, and D values for manual tuning. Understanding these basics gives you the foundation to make informed changes instead of random guesses.
How to Access the PID Menu on a Dual Boiler Machine?
Every machine brand has a slightly different method for entering the PID programming mode. On many popular models, you power off the machine first, then hold down a specific button (often the single shot or power button) while turning it back on. The display will switch from the normal temperature readout to a settings menu.
Look for labels like “Set,” “SV,” “P,” “I,” “D,” or “Offset.” Some machines use abbreviations like “bSt” for brew set temperature and “sSt” for steam set temperature. Use the up and down buttons or a dial to change values. Confirm each change by pressing the set or enter button.
Always check your machine’s user manual first. The button combinations and menu structures differ between brands like Profitec, Breville, ECM, Lelit, and Rocket. Entering the wrong mode or changing the wrong parameter can cause heating problems.
Pros of accessing manual PID settings: Full control over temperature, ability to fine tune for specific beans.
Cons of accessing manual PID settings: Risk of misconfiguration, requires patience and reading the manual.
How to Set the Brew Boiler Temperature?
The brew boiler temperature is the most important PID setting for espresso quality. Start by choosing a temperature based on your coffee roast level. Light roasts extract best at 93.5°C to 96°C because the higher heat helps dissolve their dense, complex compounds. Medium roasts work well at 92°C to 93.5°C. Dark roasts taste smoother at 90°C to 92°C because lower heat prevents over extraction of bitter oils.
Enter the PID menu and find the brew boiler set point. Change it to your chosen temperature. Exit the menu and let the machine heat up for at least 20 minutes before pulling a shot. This warm up period allows the entire brew path, including the group head and portafilter, to reach thermal stability.
Pull a test shot and taste it. If the espresso tastes sour and thin, raise the temperature by 1°C. If it tastes bitter and harsh, lower it by 1°C. Make only small changes and test after each one.
How to Set the Steam Boiler Temperature?
The steam boiler operates at a much higher temperature than the brew boiler. Most dual boiler machines default to a steam temperature between 125°C and 132°C. You can adjust this based on how you texture milk.
Higher steam temperatures (130°C to 135°C) produce faster, drier steam. This is ideal if you steam a lot of milk quickly or need powerful pressure for thick microfoam. Lower steam temperatures (120°C to 127°C) produce wetter, gentler steam that gives you more time to work the milk for latte art.
Access the PID menu and locate the steam boiler set point (often labeled “sSt” or “steam temp”). Adjust it in small increments. After changing the value, wait 5 to 10 minutes for the boiler to stabilize at the new temperature.
Pros of running higher steam temps: Faster steaming, stronger pressure, quicker workflow.
Cons of running higher steam temps: Less control over microfoam texture, risk of scalding milk.
How to Use Temperature Offset Correctly?
Many dual boiler machines include a temperature offset feature in the PID settings. This offset accounts for the heat loss that occurs as water travels from the boiler sensor to the group head. The sensor might read 93°C at the boiler wall, but the water at the puck could be 5°C to 10°C cooler.
To use offset correctly, check your machine’s manual for the recommended range. Some machines require you to set a higher boiler temperature to achieve the correct brew temperature. Others let you enter a specific offset value, and the PID controller does the math for you.
A common mistake is ignoring the offset entirely. If your shots consistently taste under extracted despite a high set point, the offset might be set too low or not configured at all. Adjusting the offset is often more effective than raising the brew set point because it targets the actual problem: heat loss between the boiler and the coffee.
How to Adjust the P, I, and D Values?
Most home baristas should leave the P, I, and D values at their factory defaults. These parameters control how aggressively the PID corrects temperature errors, and the manufacturer has already tuned them for the machine’s specific boiler size and heating element.
However, if you notice temperature oscillations (the reading swings above and below the target repeatedly), you may need to adjust. The Proportional (P) value controls response strength. A higher P value makes the heater react faster to temperature drops. A lower P value makes the response more gentle.
The Integral (I) value fixes long term drift. If the machine always sits 0.5°C below the target, increasing the I value slightly will correct that. The Derivative (D) value prevents overshoot. If the temperature spikes above the target before settling, increasing the D value slightly will help.
Pros of manual P, I, D tuning: Precise control, ability to fix specific temperature behaviors.
Cons of manual P, I, D tuning: Easy to make things worse, requires testing and patience, may void warranty support.
How to Use the Autotune Feature?
Many modern PID controllers include an autotune function. This feature runs the heater through a series of test cycles and automatically calculates the best P, I, and D values for your machine. It eliminates the guesswork of manual tuning.
To activate autotune, enter the PID menu and look for an option labeled “AT,” “Auto,” or “Autotune.” Select it and let the machine run. The process usually takes 10 to 30 minutes. During this time, the temperature will swing up and down as the controller tests the system. Do not pull any shots or steam milk during autotune.
Once the process finishes, the controller saves the new P, I, and D values. Let the machine stabilize for another 15 minutes, then pull a test shot. In most cases, autotune produces good results without any further adjustment.
Pros of autotune: Fast, requires no technical knowledge, produces reliable results.
Cons of autotune: May not account for unique environmental factors, some machines lack this feature.
How to Diagnose Temperature Instability Problems?
If your PID display shows the temperature bouncing up and down by more than 2°C, something is wrong. The most common cause is a loose or failing temperature sensor. The sensor must make firm contact with the boiler surface. Check that it is tightened properly and not corroded.
Another common issue is scale buildup inside the boiler. Mineral deposits insulate the heating element and slow heat transfer. This forces the PID to work harder, causing overshoot and oscillation. Regular descaling every 2 to 4 months prevents this problem.
Electrical issues can also cause instability. A worn heating element or a faulty relay may not deliver consistent power. If you have cleaned, descaled, and reseated the sensor but still see wild temperature swings, contact a technician for an electrical inspection.
Poor P, I, D values are another culprit. If someone previously changed these settings, resetting them to factory defaults often solves the problem immediately.
How to Adjust PID for Different Coffee Beans?
Different beans respond to different temperatures. Single origin light roasts from Ethiopia or Kenya often taste best at 94°C to 96°C because the higher heat extracts their fruity, floral compounds fully. A classic Italian dark roast blend performs better at 90°C to 92°C where the lower heat avoids pulling out excessive bitterness.
When you switch beans, adjust your brew boiler set point by 1°C at a time. Pull a shot, taste it, and note the result. The goal is to find the temperature where the espresso tastes balanced, sweet, and clean with no dominant sourness or bitterness.
You do not need to change the steam boiler setting for different beans. Steam temperature affects milk texture, not coffee extraction. Keep the steam boiler at your preferred setting regardless of what beans you load into the hopper.
This temperature flexibility is one of the biggest advantages of owning a PID equipped dual boiler machine over a basic thermostat model.
How to Maintain Consistency After PID Adjustments?
Once you find settings you like, write them down or photograph the PID screen. Keep a simple log with the date, bean name, brew temp, steam temp, and a note about taste. This log becomes your personal reference guide for future adjustments.
Let your machine warm up for at least 20 to 30 minutes before pulling shots. A cold group head and portafilter will absorb heat from the water and lower the actual brew temperature. Locking in an empty portafilter during warm up helps the metal reach thermal equilibrium faster.
Run a blank shot (water only, no coffee) before your first espresso of the day. This flushes any stale water from the brew path and brings the group head to its final operating temperature. After that, your PID settings will deliver consistent results shot after shot.
Avoid making PID changes on days when you also change your grind size, dose, or beans. Isolating one variable at a time is the only reliable way to understand what each adjustment does.
How to Reset PID Settings to Factory Defaults?
If your adjustments have gone too far and the machine behaves unpredictably, a factory reset is the safest fix. Most machines offer a reset option inside the PID menu. Look for an option labeled “RST,” “Default,” or “Factory.”
On some machines, you perform a reset by holding a combination of buttons during power on. For example, holding both the plus and minus buttons while powering up may trigger a reset on certain Profitec and ECM models. Always check your specific machine’s manual for the exact reset procedure.
After resetting, the machine will return to its original brew temperature, steam temperature, and P, I, D values. Let it warm up fully and pull a few test shots. From this clean starting point, you can make careful, documented adjustments again with confidence.
Pros of factory reset: Eliminates all bad settings at once, gives a known starting point.
Cons of factory reset: You lose any custom settings you had previously dialed in.
How to Avoid Common PID Adjustment Mistakes?
The most frequent mistake is changing too many things at once. If you adjust the brew temperature, the P value, and the grind size in one session, you cannot identify which change affected the taste. Change one setting, test it, and move on.
Another mistake is not allowing enough warm up time. The PID display might show the target temperature within a few minutes, but the group head and portafilter need 20 to 30 minutes to reach full thermal stability. Shots pulled during warm up will not reflect your true PID settings.
Ignoring the manual is also common. Each machine brand implements PID differently. Button combinations, menu labels, value ranges, and offset systems all vary. Reading the manual for 10 minutes can save you hours of frustration.
Finally, avoid chasing perfection with P, I, and D values if the factory defaults work well. Most temperature issues in daily use come from the brew set point, not the tuning parameters. Adjust the set point first and only touch P, I, D if you see clear oscillation or drift.
Frequently Asked Questions
How often should I adjust PID settings on my dual boiler machine?
You only need to adjust the PID brew temperature when you change to a significantly different roast level or bean origin. The steam boiler setting and P, I, D values rarely need changes after initial setup. Most home baristas adjust the brew set point a few times per month and leave everything else alone.
Can incorrect PID settings damage my espresso machine?
Setting the temperature too high can trigger the machine’s safety thermostat or thermal fuse, which shuts the machine down to prevent boiler damage. This is a safety feature and does not usually cause permanent harm. However, running extreme P, I, D values can cause rapid heater cycling that may shorten the heating element’s lifespan over time.
What is the ideal brew temperature for most espresso?
A brew temperature of 92°C to 94°C (197°F to 201°F) works well for the majority of medium roast espresso blends. This range provides a good balance between extracting sweetness and avoiding bitterness. Adjust up for lighter roasts and down for darker roasts.
Do I need a thermometer to verify PID accuracy?
A group head thermometer or a Scace device can verify that the water temperature at the puck matches the PID set point. This is helpful for understanding your machine’s temperature offset. However, most home baristas can dial in great espresso by tasting shots and adjusting the set point without additional measurement tools.
Why does my espresso taste different even with the same PID settings?
Variables beyond temperature affect espresso flavor. Bean freshness, grind size, humidity, dose weight, and tamping pressure all play a role. If your PID settings are stable but your shots taste inconsistent, check these other factors before changing the PID.

Hi, I’m Emma Lee — the coffee-obsessed creator behind Morning Drip Vault. I spend my days testing coffee machines, exploring brewing techniques, and reviewing the latest coffee gear. My mission is simple: helping you find the perfect machine to brew your best cup, every single morning.