
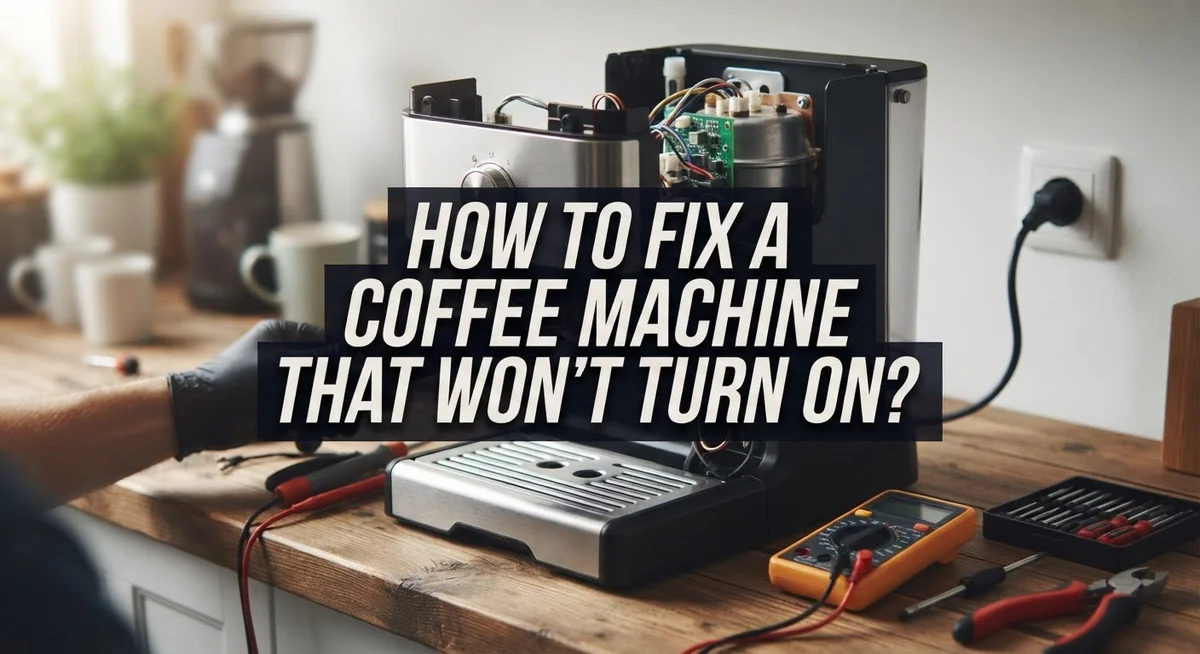
How To Fix A Coffee Machine That Won’t Turn On?
Your morning feels off without a good cup of coffee. So when your coffee machine won’t turn on, it can throw your whole day out of order.
The good news? Most power issues have simple fixes. You don’t need to call a repair technician right away.
Mineral buildup from tap water is often the hidden culprit. It clogs internal parts and stops your machine from starting.
Electrical issues also cause this problem. Sometimes a quick reset solves everything.
This guide walks you through easy troubleshooting steps. You will learn how to safely check your machine before trying any fix.
In a Nutshell
- Unplug first. Always disconnect your machine before touching any parts. This keeps you safe and prevents damage.
- Let it cool down. Wait at least 10 minutes before you start any fixes. Never work on a hot machine.
- Try the power cycle. Turn it off, unplug it, wait, then plug it back in. This simple reset fixes many issues.
- Check for mineral buildup. Hard water leaves deposits that block your machine’s function. Descaling often solves this problem completely.
- Empty the machine first. Make sure no water or coffee remains before troubleshooting. This helps you spot the real issue clearly.
- Start simple, then go deeper. Basic checks solve most problems quickly. Only move to advanced repairs if needed.
Common Reasons Your Coffee Machine Won’t Turn On
Your coffee machine stops working for several specific reasons. Understanding these causes helps you fix the problem faster.
Mineral deposits build up inside your machine over time. Tap water contains minerals like calcium and magnesium. These minerals stick to internal parts and block water flow. Your machine cannot heat water or brew coffee when these deposits accumulate. This is the most common reason machines fail to turn on.
Electrical problems rank second on the list. A loose power cord prevents electricity from reaching your machine. The outlet itself might be broken. A tripped circuit breaker cuts power to that outlet. Sometimes the internal heating element fails, stopping the machine completely.
Clogged water lines restrict water movement through your machine. When water cannot flow, your machine may not activate its heating system. It will not turn on because it senses a problem internally.
Thermal cutoff switches protect your machine from overheating. If your machine gets too hot, this safety switch shuts everything down. The machine won’t restart until it cools completely. This is actually a safety feature working correctly.
Faulty power buttons wear out after years of use. The button stops responding to your touch. Your machine has power, but the button cannot trigger the startup sequence.
Water tank issues also cause startup failures. An empty tank or incorrectly placed tank prevents the machine from operating. Some machines have sensors that detect tank position.
Broken heating elements cannot warm water, so your machine refuses to start. Without heat, the brewing process cannot begin.
Each of these problems has a different solution. Start by checking the simplest causes first. Power and water issues usually solve quickly with basic troubleshooting steps.
Safety First: Steps to Take Before Troubleshooting
Before you start fixing your coffee machine, safety must come first. Your machine contains electrical components and hot water that can hurt you if handled incorrectly.
Always unplug your machine from the wall outlet. This single step removes all electrical risk. Never work on a plugged in machine, even if it won’t turn on. Electricity can still flow through the device and cause serious injury.
Let your machine cool completely. Wait at least 10 minutes after unplugging it. The internal heating elements stay hot for several minutes even without power. Touching hot surfaces inside the machine can cause burns. Give it extra time if your machine was recently in use.
Check that the machine is empty before you begin. Remove the water tank and pour out any remaining water. Empty the drip tray as well. Stray water can damage electrical components or create shock hazards while you troubleshoot.
Inspect the power cord carefully. Look for any visible damage like cuts, fraying, or burn marks on the cord itself. A damaged cord should never be used. Damaged cords pose fire and electrical risks.
Make sure your work area is dry. Water and electricity don’t mix. Keep your hands dry throughout the entire process. If your hands are wet, dry them completely before touching anything.
Put on safety glasses if you have them. This protects your eyes from any small parts that might come loose during inspection.
Keep children and pets away from your work area. They might accidentally touch the machine or electrical components while you work.
These safety steps take just a few minutes but protect you completely. Once you finish these checks, you can move forward with actual troubleshooting steps confidently.
Step-by-Step Guide to Power Cycling Your Machine
Power cycling your machine is the first real troubleshooting step after safety checks. This simple process resets your coffee maker’s internal systems and often fixes power issues without any tools or repairs.
Start by turning off your machine completely. Use the power button on the front. Wait about 30 seconds to ensure the machine fully powers down. This brief pause matters because it lets your machine’s circuits discharge completely.
Next, unplug the machine from the wall outlet. Keep it unplugged for at least 10 minutes. This waiting period is crucial. It allows any remaining electrical charge to drain from the system. During this time, your machine’s memory circuits reset to factory settings.
After 10 minutes have passed, plug the machine back into the outlet. Make sure the outlet works by testing it with another device first. A broken outlet wastes your time and effort.
Now turn your machine on using the power button. Listen for sounds like beeping, humming, or water pump noises. These signs mean power is flowing correctly. If your machine turns on, the power cycle worked.
If your machine still won’t turn on after power cycling, the problem runs deeper. You may have mineral buildup blocking internal sensors. You might also have a faulty power button or broken heating element.
Don’t repeat the power cycle more than twice. If it doesn’t work the second time, move on to descaling or other troubleshooting steps. Repeating the same action won’t change the outcome. Document what happened so you can explain the problem clearly if you need professional help later.
How to Descale a Clogged Coffee Machine
Mineral buildup inside your coffee machine blocks water flow and stops the heating system from working. Tap water contains minerals like calcium and magnesium. These minerals accumulate on internal surfaces over months of regular use. When enough buildup occurs, your machine cannot function properly and won’t turn on.
Descaling removes these mineral deposits and restores your machine to working condition. This process uses an acidic solution that dissolves the buildup without damaging internal parts. Most machines need descaling every three to six months, depending on your water hardness.
Start by unplugging your machine and letting it cool completely. Safety comes first when working with any appliance. Fill your water tank with a descaling solution mixed according to the instructions. Some people use white vinegar as a natural alternative.
Plug the machine back in and run the descaling solution through the brewing cycle. Let the solution sit inside the machine for 15 to 20 minutes. This waiting period allows the acidic liquid to break down mineral deposits effectively.
Run fresh water through the machine multiple times after descaling. This step removes all remaining descaling solution and mineral residue. Your machine should now heat properly and respond to the power button.
If your machine still won’t turn on after descaling, the problem likely involves electrical components rather than mineral clogging. Check your power cord for damage and test the outlet with another device. A faulty outlet or broken cord requires professional repair or replacement. Descaling fixes most mineral related startup issues, but some problems need expert attention.
Checking Power Sources and Electrical Connections
When your coffee machine won’t turn on, start by checking the power source itself. Many machines fail to start because the outlet isn’t working, not because the machine is broken.
Test the outlet by plugging in another device you know works. A lamp, phone charger, or toaster will tell you if electricity is flowing to that spot. If the other device powers on, your outlet is fine. If nothing happens, try a different outlet in another room.
Look at your power cord carefully. Walk your fingers along the entire length, feeling for damage, cracks, or burns. Pay special attention to the areas near the plug and where the cord enters the machine. A damaged cord stops electricity from reaching your machine completely.
Check that the power cord is fully inserted into the outlet. Sometimes cords work loose from vibrations or accidental bumping. Push it in firmly until you hear or feel a click.
Flip the circuit breaker switch in your electrical panel if you suspect a tripped breaker. Look for any switches in the “off” position or in between the “on” and “off” positions. Switch these back to the “on” position and try your machine again.
If you have a surge protector, unplug your machine from it and plug directly into the wall outlet instead. Surge protectors can fail and stop working without any visible signs.
Once you’ve confirmed the outlet works and the cord is undamaged, move forward with power cycling your machine. This simple electrical reset often solves the problem when basic power checks pass.
Helpful Tips for Preventing Future Power Issues
Preventing power issues with your coffee machine starts with simple daily habits. Keep your machine clean and descale it regularly to stop mineral buildup before it causes problems. Mineral deposits clog internal parts and force your machine to work harder, which strains the electrical system over time.
Store your machine in a dry location away from water splashes. Moisture near electrical components creates short circuits and power failures. Wipe down the exterior after each use, especially around the power cord and base.
Check your power cord monthly for damage. Look for cracks, fraying, or bent plugs. Replace the cord immediately if you spot any wear. A damaged cord is a fire hazard and prevents your machine from turning on safely.
Use a dedicated outlet for your coffee machine instead of sharing one with multiple appliances. Overloaded outlets cause power fluctuations that damage internal circuits. Avoid using extension cords or surge protectors if possible, as these add extra connection points where problems occur.
Let your machine rest between uses. Continuous operation heats internal components and weakens electrical connections. Allow at least 15 minutes of cooling time after each brewing session.
Keep the power button clean and free from coffee residue. Dried coffee inside the button mechanism prevents proper contact with electrical switches. Gently wipe the button with a dry cloth weekly.
Schedule descaling every month if you have hard water, or every three months for soft water areas. This single step prevents most power issues before they start. Your machine will stay reliable and turn on every single time you need it.
Common Mistakes to Avoid When Troubleshooting
When troubleshooting a coffee machine that won’t turn on, avoiding common mistakes makes the difference between quick fixes and wasted time. Many people rush through the process without thinking about safety first.
Never work on a machine while it’s plugged in or hot. This is the biggest mistake you can make. Always unplug your machine before touching any internal parts or even examining the power cord closely. Wait at least 10 minutes for the machine to cool completely.
Many people skip the cooling period entirely. They unplug the machine, wait just a few seconds, then plug it back in immediately. This doesn’t give the electrical system time to reset properly. A full 10 minute break allows capacitors to discharge and gives your machine a genuine fresh start.
Another common error is assuming the problem is complex when it’s actually simple. People often jump straight to descaling or internal repairs without checking basic things first. Start by testing whether the outlet itself works by plugging in a lamp or phone charger.
Don’t assume your power cord is fine just by looking at it. Bend it gently along its entire length while checking for cracks or damage. A damaged cord might look okay on the surface but have internal breaks.
Avoid working on the machine in a wet environment. Water and electricity don’t mix safely. Make sure your hands are dry and the area around your machine is clean and dry before you begin any troubleshooting.
Finally, resist the urge to force buttons or switches repeatedly. Pressing the power button many times in quick succession won’t help and might damage the button mechanism. Press once, wait, then assess what happens next.
When to Seek Professional Repair Help
Your coffee machine may need professional help in specific situations. Knowing when to call a technician saves you time and money.
Contact a professional if basic troubleshooting fails. After unplugging, cooling completely, and power cycling your machine, it should respond. If nothing happens after these steps, an internal electrical component likely failed. Technicians have tools to diagnose what’s broken inside.
Seek professional repair if your power cord is damaged. Never attempt to fix a frayed, cracked, or burned cord yourself. This creates serious safety hazards. A technician can safely replace it or determine if the entire machine needs replacement.
Water damage requires professional attention. If your machine got wet or liquid spilled inside, don’t keep trying to turn it on. Internal components may be corroded or shorted. A professional can assess whether repair is possible or if replacement makes more sense.
Strange smells or burning odors mean stop immediately. Unplug the machine and call a technician. These signs indicate electrical problems or component failure that needs expert evaluation.
Consider repair costs versus machine age. If your coffee machine is very old and repair costs approach the price of a new one, replacement might be smarter. Technicians can give you a repair estimate so you can make an informed choice.
Warranty coverage matters too. Check if your machine is still under warranty before paying for repairs. Many manufacturers cover electrical failures during the warranty period at no cost.
Professional repair shops often provide faster solutions than DIY attempts. They handle the work safely and correctly. This peace of mind is valuable when dealing with electrical appliances.
Final Thoughts
Fixing a coffee machine that won’t turn on is easier than it seems. Most problems come from simple causes. Mineral buildup and power issues top the list.
Start with the basics every time. Unplug your machine first. Let it cool down completely before you touch anything.
A simple power cycle solves many problems. Turn the machine off, unplug it, wait ten minutes, then plug it back in. This quick reset fixes issues more often than you’d expect.
Descaling matters just as much as electrical checks. Mineral deposits build up inside your machine over time. This buildup blocks parts and stops your machine from turning on.
Safety should guide every step you take. Never work on a hot or plugged in machine. Give it time to cool before any inspection or repair.
Check your machine’s basic parts before assuming the worst. Look at the power cord, outlet, and button function. Many fixes require no special tools or skills.
Patience makes a real difference here. Rushing through steps often causes more problems. Take your time with each part of the process.
Your coffee machine likely just needs basic care and attention. Most fixes involve cleaning, resetting, or simple checks. Complex repairs are rarely the actual answer.
Remember that prevention beats repair every single time. Regular maintenance keeps your machine running well. This saves you time and frustration later.
With these steps, you can get your machine working again. Stay calm, follow the process, and check each part carefully. Your coffee machine will likely turn on again soon.
Frequently Asked Questions
Why won’t my coffee machine turn on even though it’s plugged in?
Several things could prevent your machine from powering on. Mineral buildup inside the heating element is the most common cause. When tap water sits in your machine over time, minerals accumulate and block electrical connections. The power cord itself might have damage you can’t see. Try a different outlet first to rule out wall socket problems.
Will descaling actually fix a machine that won’t turn on?
Yes, descaling often works if minerals are the culprit. Mineral deposits create blockages that interrupt power flow to heating elements. Fill your machine’s water tank with a descaling solution and run it through completely. Let it sit for 15 minutes, then run fresh water through several times. This simple process clears internal buildup that stops machines from starting.
What’s the correct way to power cycle my coffee machine?
Power cycling is your first troubleshooting step. Unplug the machine from the wall outlet completely. Wait at least 10 minutes while it cools down. Plug it back in and try turning it on. This resets the internal electrical system and solves many startup problems without any additional work.
Can I fix my coffee machine if the power cord looks fine?
Don’t judge a cord by appearance alone. Bend the cord gently along its entire length while looking for cracks or exposed wires. Internal damage won’t always show on the outside. If you find any damage, stop immediately. A damaged cord means your machine needs professional repair for safety reasons.
Should I try repairing my machine if it still won’t start?
Stop troubleshooting if basic steps don’t work. Never force buttons or switches repeatedly. If your machine won’t turn on after cooling, power cycling, and descaling, contact a professional. Continuing DIY attempts could create water damage or electrical hazards.

Hi, I’m Emma Lee — the coffee-obsessed creator behind Morning Drip Vault. I spend my days testing coffee machines, exploring brewing techniques, and reviewing the latest coffee gear. My mission is simple: helping you find the perfect machine to brew your best cup, every single morning.