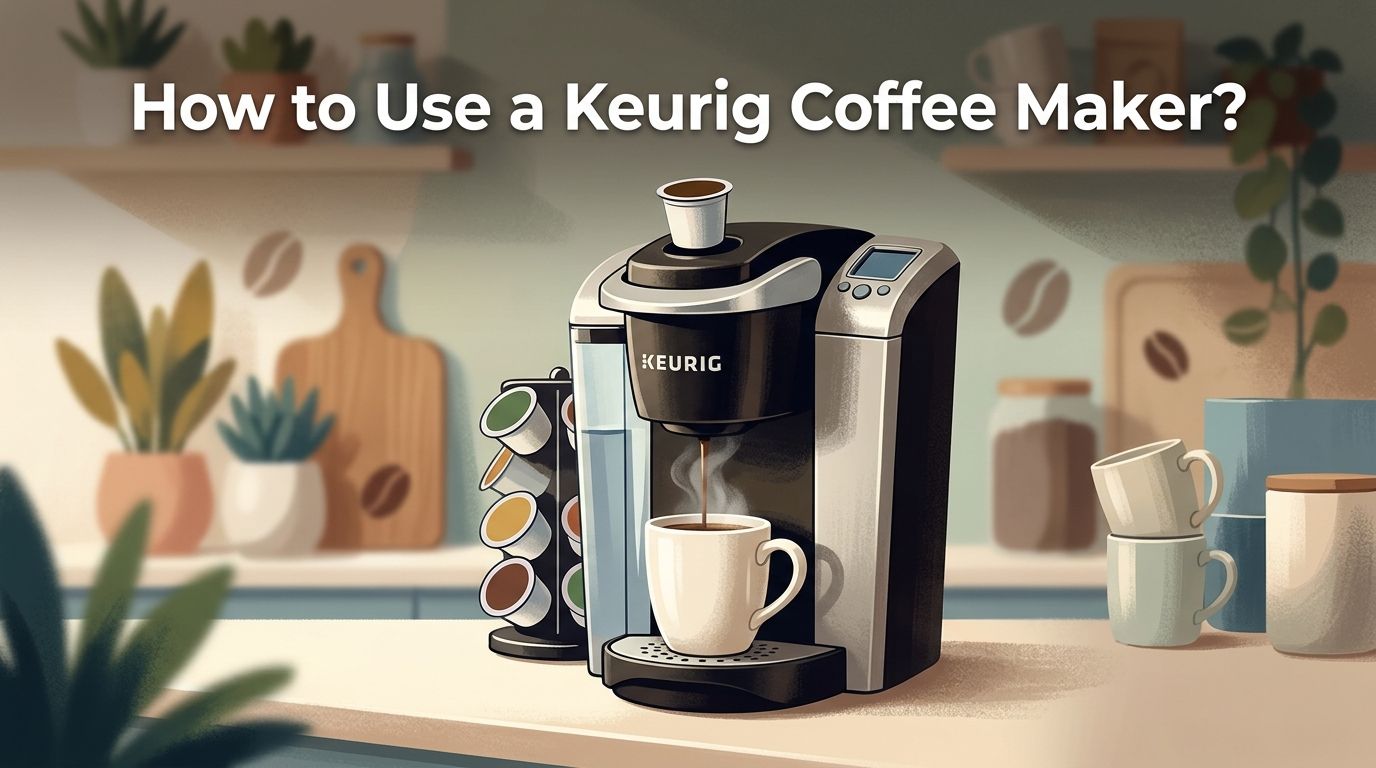
How to Use a Keurig Coffee Maker? Step by Step Guide
You just unboxed your brand new Keurig coffee maker and stared at it for a solid minute. Sound familiar? You are not alone.
Millions of people own a Keurig, yet many still struggle with getting the perfect cup every single time. Maybe the coffee tastes weak. Maybe the machine makes odd noises. Or maybe you just want to learn the basics from scratch.
This guide will walk you through everything you need to know about your Keurig. From the very first setup to cleaning, troubleshooting, and even using your own ground coffee, you will find clear answers here.
Key Takeaways
- Setting up your Keurig is simple. Unbox the machine, remove all packing tape, fill the water reservoir, and run a cleansing brew without a pod before making your first cup. This rinses out any factory dust or residue.
- Always use fresh, filtered water for better tasting coffee. Tap water with high mineral content can cause buildup inside the machine and lead to descaling issues over time.
- Choose the right cup size for your taste. Most Keurig models offer sizes from 6 oz to 12 oz. A smaller size produces a stronger, bolder cup, while a larger size dilutes the flavor.
- Descale your Keurig every 3 to 6 months. Calcium and mineral deposits build up inside the water lines. Descaling removes them and keeps your coffee tasting fresh. You can use white vinegar or a descaling solution.
- Reusable K Cup filters let you use your own ground coffee. Fill the filter basket to the max line with a medium grind, insert it into the machine, and brew as normal. This saves money and gives you more variety.
- Most common Keurig problems have easy fixes. Clogged needles, air bubbles, and scale buildup cause the majority of brewing issues. A paperclip, a quick rinse, or a descale cycle will solve most of them.
How to Set Up Your Keurig Coffee Maker for the First Time
Take your Keurig out of the box and remove all packaging materials. Peel off any protective tape from the water reservoir, drip tray, and lid. Place the machine on a flat, stable surface near a grounded electrical outlet.
Attach the water reservoir by sliding it into place at the back or side of the machine. Fill it with fresh water up to the max fill line. Plug in the machine and press the power button.
Before you brew your first cup of coffee, run one or two cleansing cycles with just water. Do not insert a K Cup pod. Simply close the lid, select the largest cup size, and press brew. This flushes out any dust or particles from manufacturing. Discard the hot water and repeat once more. Your Keurig is now ready to make coffee.
How to Brew Your First Cup of Coffee with a Keurig
Brewing coffee on a Keurig takes less than two minutes. First, make sure the water reservoir is filled to at least the minimum line. Lift the handle on top of the machine to open the K Cup holder.
Place one K Cup pod into the holder and press the handle down firmly until it clicks. The needles inside the machine will puncture the top and bottom of the pod. Select your preferred cup size using the buttons on the machine. Place your favorite mug on the drip tray.
Press the brew button and wait. Hot water will push through the pod and into your mug in about 60 seconds. Remove your mug, lift the handle, and discard the used pod. That is all it takes.
Pros: Extremely fast, no measuring required, consistent results every time.
Cons: Limited to one cup at a time, pods can be more expensive than bulk ground coffee.
How to Choose the Right Cup Size on Your Keurig
Most Keurig models offer between three and five cup size options. Common sizes include 4 oz, 6 oz, 8 oz, 10 oz, and 12 oz. The size you pick changes how much water passes through the same K Cup pod.
A 6 oz brew produces the boldest and most concentrated flavor. This is a great choice if you enjoy strong coffee or espresso style drinks. An 8 oz brew is the standard default on most models and works well for everyday drinking.
Choosing a 10 oz or 12 oz brew will give you more coffee in your mug but with a lighter taste. The pod contains the same amount of grounds regardless of the size you select. If you prefer a larger cup without sacrificing strength, look for “strong brew” or “bold” K Cup varieties. Some newer Keurig models also have a dedicated Strong button that slows the brew cycle for a richer flavor.
How to Use a Reusable K Cup Filter with Your Own Ground Coffee
A reusable K Cup filter lets you skip disposable pods and use any ground coffee you like. Start by opening the reusable filter. Most models have a twist off lid and a removable mesh basket inside.
Fill the basket with ground coffee up to the max line. Use a medium grind for the best results. A grind that is too fine can clog the filter and cause overflow. A grind that is too coarse will produce weak, watery coffee.
Place the lid back on the filter and insert it into the K Cup holder just like a regular pod. Close the handle, select your size, and press brew. After brewing, empty the used grounds, rinse the filter under warm water, and let it dry.
Pros: Saves money over time, reduces plastic waste, lets you choose any coffee brand or blend.
Cons: Requires extra cleanup, flavor can vary based on grind size, some users report a slightly weaker brew compared to standard pods.
How to Clean Your Keurig Coffee Maker the Right Way
Regular cleaning keeps your Keurig running well and your coffee tasting great. Start with the removable parts. Take out the water reservoir, lid, drip tray, and K Cup holder. Wash them with warm soapy water and let them air dry.
Wipe the exterior of the machine with a damp cloth. Pay attention to the area around the K Cup holder, as coffee residue tends to build up there. Clean the entrance and exit needles carefully. These are the small metal pins that puncture the K Cup pod.
Use a straightened paperclip to gently clear any grounds stuck inside the needles. Insert the paperclip into each needle hole and move it around to loosen debris. Reassemble the machine, fill the reservoir, and run a water only brew cycle to flush everything out. Aim to do this basic cleaning once a week for the best performance.
How to Descale a Keurig Coffee Maker to Remove Mineral Buildup
Descaling removes calcium and mineral deposits that accumulate inside your Keurig over time. These deposits can slow down brewing, reduce water temperature, and make your coffee taste off. Keurig recommends descaling every 3 to 6 months, or more often if you use hard water.
To descale, empty the water reservoir completely. Pour an entire bottle of descaling solution into the reservoir, then fill the empty bottle with water and add that too. If you prefer a natural option, use equal parts white vinegar and water instead.
Turn on the machine, place a large mug on the drip tray, and run brew cycles without a pod until the reservoir is empty. Let the machine sit for 30 minutes with the power on. Then fill the reservoir with fresh water and run at least 12 rinse brews to flush out the solution.
Pros of descaling solution: Designed for the machine, no lingering taste.
Pros of vinegar: Cheap, widely available, effective.
Cons of vinegar: May leave a slight aftertaste if not rinsed thoroughly, and Keurig states it may void certain warranties.
How to Fix a Keurig That Is Not Brewing a Full Cup
A Keurig that only brews a partial cup is one of the most common complaints. The good news is that the fix is usually simple. The most likely cause is a clogged needle or scale buildup inside the water lines.
Start by cleaning the exit needle with a paperclip as described in the cleaning section above. If that does not help, try descaling the machine. Mineral deposits can restrict water flow and prevent a full cup from dispensing.
Air bubbles trapped in the water line can also cause this problem. To fix it, remove the water reservoir and shake it gently. Reattach it, tap the sides of the machine a few times, and try brewing again. If none of these steps work, perform a hard reset. Turn off the machine, unplug it, and wait 10 minutes. Then plug it back in and try again. This resolves most firmware or sensor glitches.
How to Fix a Keurig That Will Not Turn On or Power Up
If your Keurig does not respond when you press the power button, do not panic. Check the power cord first. Make sure it is plugged securely into both the machine and the wall outlet. Try a different outlet to rule out a dead socket.
If the machine still does not power on, perform a hard reset by unplugging it for at least five minutes. This clears the internal memory and can fix minor electrical issues. Press and hold the power button for a few seconds after plugging it back in.
On some models, a misaligned water reservoir can prevent the machine from turning on. Remove the reservoir, inspect the magnet or sensor connection point, and reattach it firmly. If none of these solutions work, your machine may have a deeper electrical problem. Contact Keurig customer support for warranty or repair options.
How to Make Iced Coffee with a Keurig Coffee Maker
Making iced coffee with a Keurig is quick and easy. Fill a large glass with ice, about three quarters full. Select the smallest cup size available on your machine. This creates a stronger, more concentrated brew that will not taste watered down when the ice melts.
Some newer Keurig models like the K Elite and K Cafe Smart have a dedicated Iced button. This feature brews the coffee hotter and more concentrated so it holds its flavor over ice. If your model does not have this button, simply use the 6 oz setting and brew directly over a glass of ice.
Add milk, cream, or flavored syrup to taste. Stir well and enjoy. For an even richer iced coffee, brew a pod the night before, let it cool, and pour it into an ice cube tray. Use those coffee ice cubes the next day so your drink never gets diluted.
How to Use the Strong Brew Feature on a Keurig
The Strong Brew feature is available on select Keurig models such as the K Select, K Elite, and K Supreme. It increases the brew time so the water stays in contact with the coffee grounds longer. This produces a bolder, more intense cup without changing the volume.
To use it, insert your K Cup pod and select your desired cup size. Before pressing brew, press the Strong button. The indicator light will turn on to confirm the setting is active. Then press brew as usual.
This feature works especially well with medium and dark roast pods. Light roast pods may still taste milder even with Strong Brew activated. If your Keurig does not have this feature, you can mimic the effect by choosing a smaller cup size or by using a dark roast pod. Both methods increase the coffee to water ratio and result in a stronger flavor.
How to Save Money and Reduce Waste with Your Keurig
K Cup pods are convenient but the cost adds up fast. If you brew two cups a day, you could spend over $400 a year on pods alone. A reusable K Cup filter is the simplest way to cut costs. You can buy ground coffee in bulk for a fraction of the per cup price.
Another option is to look for compatible pods from third party brands. These often cost less than name brand K Cups and come in a wide variety of flavors and roasts.
To reduce waste, recycle your used K Cup pods. Peel off the foil lid, dump out the grounds (they make great compost), and recycle the plastic cup where local facilities accept it. Some brands now offer fully compostable pods made from plant based materials. Choosing these options helps you enjoy the convenience of a Keurig while being more mindful of your budget and the environment.
How to Store Your Keurig Coffee Maker When Not in Use
If you plan to leave your Keurig unused for more than a few days, proper storage prevents mold, bacteria, and mineral buildup. Empty the water reservoir completely and remove it from the machine. Wipe the inside of the reservoir dry with a clean cloth.
Run a brew cycle without a pod to flush any remaining water from the internal lines. Open the K Cup holder and let it air dry. Remove the drip tray and wash it with warm soapy water before drying it.
Store the machine in a cool, dry place. Do not leave water sitting in the reservoir for extended periods because stagnant water encourages bacterial growth and can cause unpleasant odors. When you are ready to use the Keurig again, fill the reservoir with fresh water and run two cleansing brews before making your first cup. This ensures any residue from storage is flushed out.
Frequently Asked Questions
How often should you clean a Keurig coffee maker?
You should do a basic cleaning once a week. Wash the removable parts like the drip tray, reservoir, and K Cup holder with warm soapy water. Clean the needles with a paperclip to prevent clogs. Descale the machine every 3 to 6 months to remove mineral buildup from the water lines. If you use hard water or brew more than eight cups a day, descale more frequently.
Can you use regular ground coffee in a Keurig?
Yes, you can. You need a reusable K Cup filter to do this. Fill the mesh basket with medium grind coffee up to the max line, insert the filter into the machine, and brew as normal. Avoid using a very fine grind because it can clog the filter and cause overflow.
Why does my Keurig coffee taste bad or weak?
Weak or bad tasting coffee usually means the machine needs cleaning or descaling. Old mineral deposits can affect water temperature and flow. Also check your cup size. A larger cup size dilutes the flavor from a single pod. Try the smallest size or use the Strong Brew button if your model has one.
How long does a Keurig coffee maker last?
A well maintained Keurig typically lasts 3 to 5 years with daily use. Regular descaling, cleaning the needles, and using filtered water can extend the life of your machine. Some users report their machines lasting even longer with proper care.
Is it safe to leave water in the Keurig reservoir overnight?
Leaving water in the reservoir overnight is generally fine for daily use. However, do not leave water sitting for more than a couple of days. Stagnant water can develop bacteria and affect the taste of your coffee. If you will be away, empty and dry the reservoir before you leave.

Hi, I’m Emma Lee — the coffee-obsessed creator behind Morning Drip Vault. I spend my days testing coffee machines, exploring brewing techniques, and reviewing the latest coffee gear. My mission is simple: helping you find the perfect machine to brew your best cup, every single morning.