
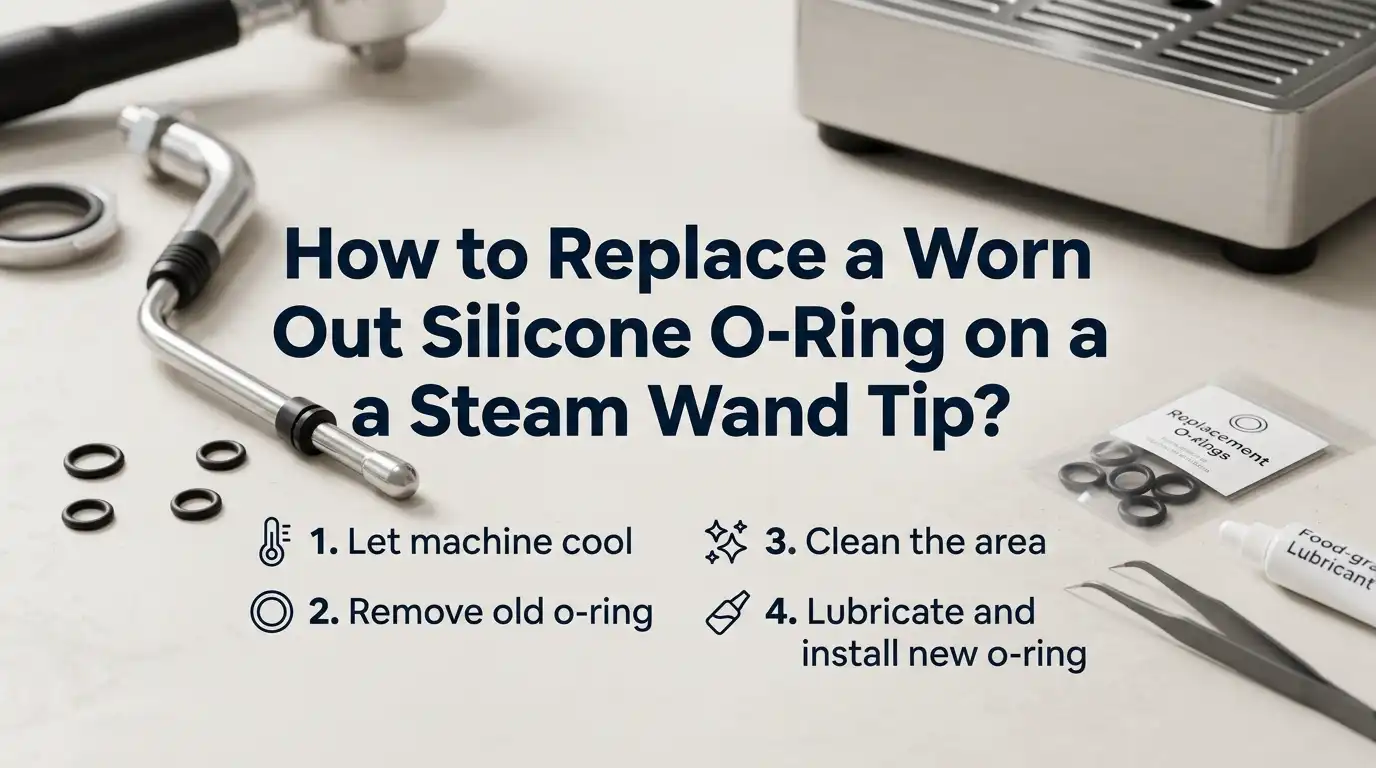
How to Replace a Worn Out Silicone O-Ring on a Steam Wand Tip?
Steam wand leaks ruin your morning espresso routine. A small drip near the tip means your silicone O-ring has likely failed. The good news? You can fix this at home in under fifteen minutes with basic tools.
The silicone O-ring sits inside the steam tip nut. It seals the connection between the wand body and the removable tip. Heat, milk residue, and pressure wear it down over time. Most O-rings last around twelve months with regular use.
This guide walks you through every step. You will learn how to spot wear, pick the right replacement, and install it without damage. By the end, your steam wand will hiss with full pressure again.
In a Nutshell
- Spot the symptoms early. Look for steam hissing from the threads, water dripping from the tip joint, or weak frothing power. These signs point to a cracked or flattened O-ring.
- Match the size exactly. Most steam tip O-rings measure 5.0mm ID x 1.2mm thick or 1.78 x 7.65mm depending on your machine brand. Always check your manual for the right spec.
- Use food grade silicone only. Standard rubber O-rings melt or leach chemicals at steam temperatures. Food safe silicone or Viton handles heat above 150°C safely.
- Cool the machine first. Burn risk is real. Switch off the boiler, release pressure, and wait twenty minutes before unscrewing anything.
- Apply food grade silicone grease. A tiny dab on the new O-ring extends its life and prevents tearing during installation.
- Test for leaks immediately. After installing, run steam for thirty seconds and watch the joint. No hiss means a perfect seal.
What Is a Steam Wand Tip O-Ring and Why Does It Matter
The steam wand tip O-ring is a small silicone seal. It sits between the wand pipe and the removable steam tip. This ring blocks pressurized steam from escaping at the joint.
Without it, steam leaks out the sides instead of through the holes. Your milk frothing suffers right away. Texture turns watery and the wand whistles loudly.
The O-ring also keeps the tip threaded on tightly. A worn ring lets the tip wobble or unscrew during use. That creates a burn hazard near hot milk.
Most espresso machines use a single small O-ring at this spot. Some models, like Breville and Rancilio, use two stacked rings. Knowing your setup helps you order the right parts.
Common Signs Your Steam Wand O-Ring Needs Replacing
You can usually hear the problem before you see it. Steam hisses sharply from the base of the tip instead of the holes. This is the loudest warning sign.
Visual signs come next. Look for water beads forming around the tip threads during steaming. Milk residue trapped at the joint also means steam is escaping there.
Performance drops are the third clue. Your milk takes longer to froth. The wand loses pressure halfway through steaming. Microfoam never reaches that glossy texture.
Finally, unscrew the tip and inspect the ring directly. A healthy O-ring looks smooth and round. A worn one shows cracks, flat spots, or a glazed shiny surface. Any of these signs mean replacement time.
Tools and Materials You Need for the Job
Gather everything before you start. Stopping mid repair to hunt for tools causes mistakes. Most items live in a standard kitchen drawer.
You need a steam tip removal tool or a small adjustable wrench. Many machines include a dedicated key. A pair of needle nose pliers helps with stuck tips.
For the new ring, buy a food grade silicone O-ring in the correct size. Keep a spare or two in your kit. They cost less than a dollar each.
Also grab a small dental pick or opened safety pin. This pulls the old ring out of its groove. A clean microfiber cloth, food safe silicone grease, and a bowl of warm soapy water finish the list.
Pros of having a full kit ready: smoother work, no interruptions, professional results. Cons: small upfront cost for the grease and spare rings, around five to ten dollars total.
How to Safely Power Down Your Espresso Machine
Safety comes first. Steam wand parts reach over 150°C during use. Touching them right after shutdown causes serious burns.
Turn off the machine at the power switch. Unplug it from the wall outlet too. This stops the heating element from cycling back on during the repair.
Release the remaining steam pressure. Open the steam valve fully and let it vent into a cloth or cup. Keep your hand far from the tip while doing this.
Wait at least twenty minutes for the boiler to cool. Touch the wand pipe gently to confirm it feels only warm. If it still feels hot, wait longer. Patience now prevents painful injuries later.
Identifying the Correct O-Ring Size for Your Machine
O-ring sizes vary by brand. Using the wrong size guarantees another leak. Two measurements matter most: inner diameter and thickness.
Most home machines use a 5.0mm inner diameter by 1.2mm thick silicone ring. Breville machines often use the SP0001705 part. La Marzocco models use a 1.78 x 7.65mm Viton 75 ring.
Check your owner manual first. The parts diagram usually lists the exact specification. You can also search the manufacturer website with your model number.
If no manual exists, measure the old ring with digital calipers. Lay it flat and measure across the inside hole and the rubber thickness. Order a ring matching those numbers exactly.
Pros of buying brand specific rings: guaranteed fit, often comes with installation tips. Cons: higher price, longer shipping. Pros of generic silicone rings: cheap, available locally. Cons: sizing errors are common without careful measuring.
Removing the Old Steam Wand Tip
Removing the tip takes care. The threads strip easily if you force them. Work slowly and steadily.
Wrap the wand pipe with a soft cloth. Hold it firmly with one hand to stop it twisting. Never apply force to the joint between the wand and the boiler. That can crack internal seals.
Use your wrench or steam tip tool on the flat sides of the tip. Turn counterclockwise. The tip should loosen within half a turn.
If it feels stuck, soak the joint in warm descaler for ten minutes. Mineral buildup often glues the threads together. Try again after soaking. The tip should now spin off by hand.
Extracting the Worn O-Ring Without Damaging the Tip
The old O-ring hides inside the tip nut groove. It often looks fused to the metal. Removing it cleanly matters because scratches inside the groove cause future leaks.
Pick up your dental pick or bent safety pin. Slide the point under the edge of the ring. Lift gently and pull around the circumference.
Avoid using sharp knives or screwdrivers. These tools scratch the metal groove and ruin the next seal. Plastic picks work even better than metal if you have one.
Once free, inspect the ring. Compare it to your new one. The shape difference tells you how much wear had built up. Wipe the groove clean with a microfiber cloth before moving on.
Pros of careful extraction: preserves the groove, ensures a tight new seal. Cons: takes a few extra minutes compared to gouging it out roughly.
Cleaning the Steam Tip Before Installing the New Ring
A clean groove holds the new O-ring better. Skip this step and your repair fails within weeks. Milk proteins bake onto the metal and break the seal.
Soak the steam tip in warm water mixed with a coffee machine cleaner. Leave it for fifteen minutes. This dissolves milk residue and limescale inside the holes and threads.
Use a soft brush to scrub the threads and the inner groove. An old toothbrush works perfectly. Rinse thoroughly under hot tap water to remove all cleaner residue.
Dry the tip completely with a lint free cloth. Any cleaner left behind contaminates your milk later. Inspect the groove one more time. It should look shiny and smooth, ready for the new ring.
Installing the New Silicone O-Ring Step by Step
Now for the main event. Take the new O-ring out of its packaging. Inspect it for defects before fitting.
Apply a tiny drop of food safe silicone grease to the ring. Roll it between your fingers to coat evenly. The grease helps the ring slide into place and extends its life.
Press the ring into the groove inside the tip nut. Push it in with your fingernail or a clean plastic tool. Work around the circle until the ring sits flat.
Check that no part of the ring sticks up above the groove edge. A pinched ring leaks immediately. Spin the tip slowly and watch the ring stay seated. Once it sits perfectly flush, you are ready to reassemble.
Reattaching the Steam Tip to the Wand
Reassembly reverses the removal steps. Take your time aligning the threads. Cross threading damages both parts.
Hand thread the tip onto the wand first. Turn clockwise gently. It should spin on smoothly with no resistance for the first three full turns. If it sticks early, back off and realign.
Once hand tight, use your wrench for the final snug. Do not overtighten. A quarter turn past hand tight is usually enough.
Overtightening crushes the new O-ring flat. That defeats the whole repair. The seal works through gentle compression, not brute force. If unsure, err on the looser side and check for leaks instead.
Testing the Repair for Leaks and Performance
Time to see your work in action. Plug the machine back in and turn it on. Wait until the boiler reaches full pressure.
Place a small steaming pitcher of cold water under the wand. Open the steam valve fully. Watch the joint between the tip and the wand carefully for any hiss or drip.
A perfect seal produces steam only from the tip holes. No moisture should appear around the threads. Listen for sharp hissing sounds, which signal a leak.
Steam for thirty seconds. Close the valve and wipe the tip dry. Open again briefly. If still dry at the joint, your repair worked. Try frothing actual milk next to confirm full performance.
Pros and Cons of DIY Replacement Versus Professional Service
You can fix this yourself or send the machine for service. Both paths have merits. Your choice depends on confidence and budget.
Pros of DIY replacement: very low cost, usually under five dollars total. You learn your machine inside out. The fix takes fifteen minutes instead of waiting weeks for a technician.
Cons of DIY replacement: risk of cross threading or burns if rushed. Wrong O-ring size means redoing the job. No warranty cover if something else breaks during the repair.
Pros of professional service: trained technicians handle everything. They check other seals at the same time. Often includes a service warranty for thirty to ninety days.
Cons of professional service: costs between fifty and one hundred and fifty dollars. You lose your machine for several days or weeks. Shipping fragile parts adds risk too.
How to Extend the Life of Your New O-Ring
A new O-ring should last twelve to eighteen months. Good habits stretch that even further. Small daily routines make the biggest difference.
Purge your steam wand after every use. Open the valve for two seconds to blow out milk residue. This stops proteins baking onto the seal.
Wipe the tip with a damp cloth after each steaming session. Milk dries fast and hardens overnight. A quick wipe prevents weeks of buildup.
Deep clean the tip weekly. Soak it in espresso machine cleaner for ten minutes, then rinse well. Avoid harsh acids like vinegar directly on the silicone ring. They shorten its life and cause early cracking.
Frequently Asked Questions
How often should I replace the steam wand O-ring?
Replace it every twelve months under regular daily use. Heavy use cafes change them every six months. Light home users sometimes get two years from one ring. Always replace sooner if you spot leaks or cracks.
Can I use a rubber O-ring instead of silicone?
No. Standard rubber rings melt or harden at steam temperatures. Use food grade silicone or Viton only. These materials handle heat above 200°C safely and stay flexible for years.
Why does my new O-ring still leak after installation?
Three common reasons cause this. The size might be slightly off. The ring may sit twisted in its groove. Or the tip is overtightened, crushing the ring flat. Remove and reinstall carefully.
Is food safe silicone grease really necessary?
Yes, for best results. The grease prevents the ring from tearing during installation. It also slows down drying and cracking. A small tub lasts years and costs only a few dollars.
Can I clean the old O-ring and reuse it?
No. Once a silicone ring shows wear, its shape will not bounce back. Cleaning removes residue but cannot restore elasticity. Always fit a fresh ring for a lasting seal.
What if my steam tip will not unscrew at all?
Soak the entire tip area in warm descaler for thirty minutes. Mineral buildup often locks the threads. If still stuck, contact a service technician rather than forcing it and breaking the wand.

Hi, I’m Emma Lee — the coffee-obsessed creator behind Morning Drip Vault. I spend my days testing coffee machines, exploring brewing techniques, and reviewing the latest coffee gear. My mission is simple: helping you find the perfect machine to brew your best cup, every single morning.