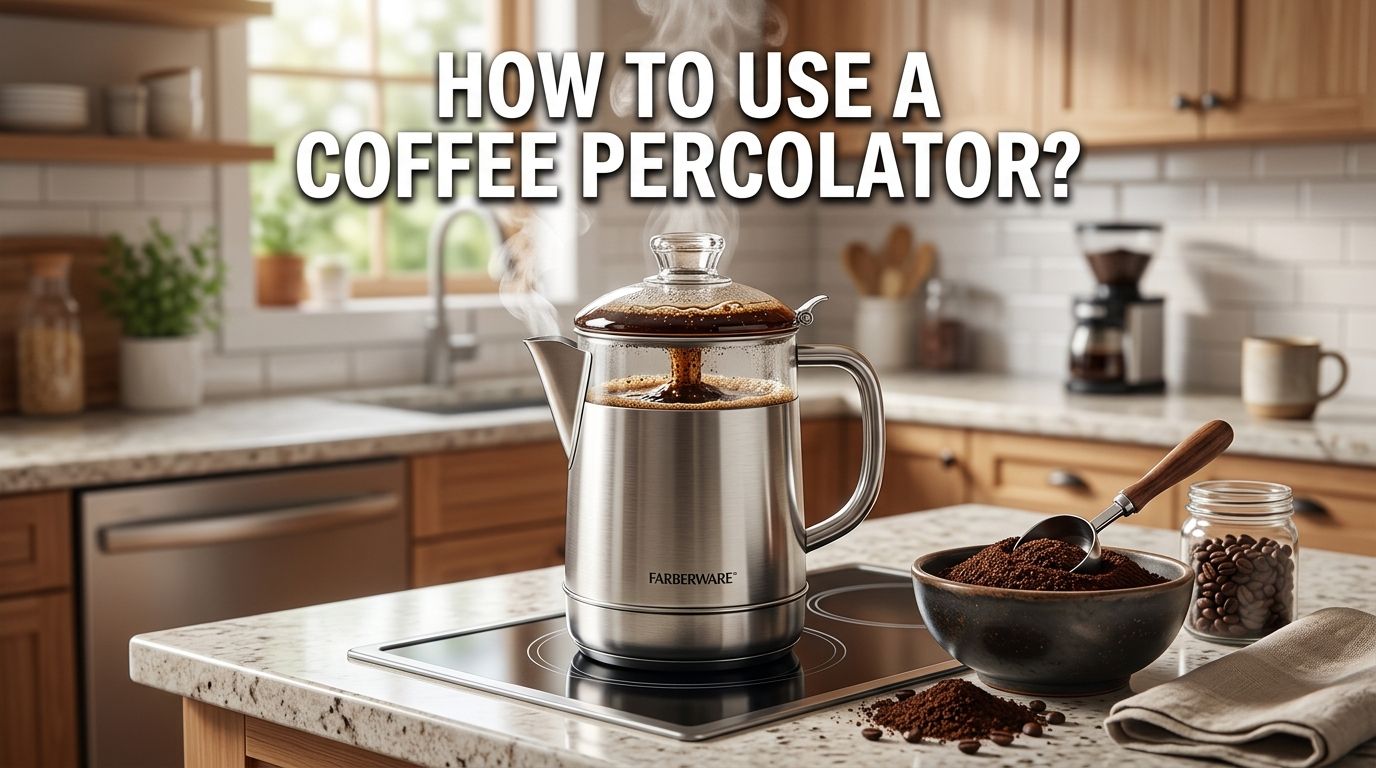
How to Use a Coffee Percolator? A Complete Guide
Have you ever wondered why your grandparents swore by percolator coffee? There is a good reason. A coffee percolator brews a bold, full bodied cup that drip machines often cannot match. Yet many people avoid this classic brewing method because they think it is too complicated or outdated.
The truth is, using a coffee percolator is simple once you understand the basics. Whether you own a stovetop model or an electric version, you can make delicious coffee in minutes. The key is knowing the right grind size, water ratio, heat level, and brew time.
This guide walks you through every step of the process. You will learn how a percolator works, how to avoid common mistakes, and how to get the best flavor from each brew. If you have ever ended up with bitter or weak percolator coffee, this post will fix that problem for good.
In a Nutshell
- A coffee percolator works by cycling hot water through coffee grounds multiple times. This repeated contact produces a stronger, more flavorful brew than most single pass drip machines. The process relies on steam pressure pushing water up a central tube and over the grounds in a basket.
- Grind size matters more than you think. Use a coarse or medium coarse grind for percolator brewing. Fine grounds will slip through the basket, create sediment in your cup, and lead to over extraction and bitterness.
- The ideal coffee to water ratio is about 1 tablespoon of ground coffee per 6 ounces of water. You can adjust this based on your taste preference. A good starting point is 30 grams of coffee to 500 grams of water for a standard pot.
- Heat control is the secret to great percolator coffee. You want the water to reach a gentle perk, not a rolling boil. Too much heat leads to bitter, burnt tasting coffee. Keep the temperature around 195°F to 200°F for the best results.
- Brew time should stay between 4 and 7 minutes. Anything longer will over extract the coffee and create harsh flavors. Watch the glass knob on top and listen for the perking rhythm to gauge your timing.
- Regular cleaning keeps your percolator performing well. A monthly deep clean with white vinegar and water removes mineral buildup and old coffee oils. This protects the flavor of every future brew.
What Is a Coffee Percolator and How Does It Work
A coffee percolator is a brewing device that has been around since the early 1800s. It uses a simple but effective system to brew coffee. The percolator has three main parts: a bottom chamber for water, a vertical tube (stem), and a basket that holds the coffee grounds.
The brewing process starts when heat causes water in the bottom chamber to rise through the stem. The hot water flows over the coffee grounds in the basket and drips back down into the chamber. This cycle repeats several times during the brew, which is why percolator coffee tastes bolder and stronger than drip coffee.
The repeated cycling of water through the grounds extracts more flavor, oils, and caffeine. Most percolators have a transparent knob on the lid so you can watch the water color darken as it brews. This visual cue helps you judge when the coffee has reached your desired strength.
Stovetop Percolator vs Electric Percolator
You can choose between two main types of percolators. Each has its own strengths and weaknesses, so the best choice depends on your situation and preferences.
Stovetop percolators sit on a burner and give you full control over the heat. They are great for camping, outdoor cooking, and anyone who likes hands on brewing. The downside is you must monitor the heat closely to avoid boiling the coffee.
Pros of stovetop models: Full heat control, portable, no electricity needed, durable construction.
Cons of stovetop models: Requires constant attention, easy to overheat, no automatic shutoff.
Electric percolators plug into a wall outlet and manage the heat for you. Many models have automatic keep warm features. They are ideal for home kitchens and offices where convenience matters.
Pros of electric models: Automatic brewing, consistent temperature, keep warm function.
Cons of electric models: Less portable, requires electricity, limited heat adjustment.
What Grind Size Works Best for a Percolator
Grind size is one of the most important factors for percolator coffee. A coarse or medium coarse grind is the best choice. This grind looks similar to raw sugar or coarse sea salt.
Fine grounds cause two major problems. First, they fall through the small holes in the percolator basket and end up as sediment in your cup. Second, fine grounds over extract quickly because the water passes through them multiple times. This leads to bitter, unpleasant coffee.
If you grind your own beans, set your grinder to a coarse setting. If you buy pre ground coffee, look for bags labeled “coarse grind” or “percolator grind.” Avoid espresso grind or fine drip grind entirely. The difference in taste will be dramatic once you switch to the correct grind size.
The Right Coffee to Water Ratio
Getting the ratio right makes or breaks your brew. The standard recommendation is 1 tablespoon of coarse ground coffee per 6 ounces of water. Some people prefer a slightly stronger brew and use 1.5 tablespoons per 6 ounces.
For a more precise approach, use a kitchen scale. A ratio of 30 grams of coffee to 500 grams (about 17 ounces) of water produces a well balanced cup. This translates roughly to a 1:17 coffee to water ratio, which is a widely accepted standard.
Start with the standard ratio and adjust from there. If your coffee tastes too weak, add more grounds next time. If it tastes too strong or bitter, reduce the amount slightly. Keep notes on what works so you can repeat your perfect brew every morning.
Step by Step Guide to Using a Stovetop Percolator
Follow these steps to brew great coffee on the stovetop. Each step is simple, but paying attention to the details will improve your results.
Step 1: Remove the stem and basket from the percolator. Fill the bottom chamber with cold, fresh water. Use the measurement markings on the pot if available.
Step 2: Place the stem back into the percolator. Attach the basket to the top of the stem. Make sure it sits securely.
Step 3: Add your coarse ground coffee to the basket. Use the ratio of 1 tablespoon per 6 ounces of water. Spread the grounds evenly.
Step 4: Place the basket lid on top and close the percolator. Set it on a burner over medium heat. Do not use high heat.
Step 5: Watch the glass knob on the lid. You will see water begin to bubble up and turn amber colored. Reduce the heat so the water perks gently every few seconds.
Step 6: Let it brew for 4 to 7 minutes. Remove the percolator from the heat. Take out the basket and stem carefully to stop the brewing process. Pour and enjoy.
Step by Step Guide to Using an Electric Percolator
An electric percolator handles the heat management for you, making the process even easier. Here is how to get the best results.
Step 1: Fill the base of the percolator with cold water up to your desired cup level. Most electric models have markings inside the pot.
Step 2: Insert the stem and basket assembly. Add your coarse ground coffee to the basket. Use the 1 tablespoon per 6 ounce guideline.
Step 3: Secure the basket lid and close the percolator. Plug it in and turn it on. The percolator will heat the water and start the brewing cycle automatically.
Step 4: Most electric percolators take between 7 and 10 minutes to complete a full cycle. The unit will switch to a keep warm mode when brewing finishes. Some models have an indicator light that changes when the brew is done.
Step 5: Once brewing is complete, remove the basket and stem right away. If you leave them in, the coffee will continue to extract and may become bitter. Serve immediately for the best flavor.
How to Know When Your Percolator Coffee Is Done
Timing your brew correctly prevents over extraction and bitterness. There are three reliable ways to tell when the coffee is ready.
Watch the glass knob. Most percolators have a clear glass knob on the lid. As the coffee brews, you will see the liquid darken from clear to a golden amber and then to a rich brown. When the color looks like strong tea or a deep amber, the coffee is close to done.
Listen to the perking sound. A properly brewing percolator makes a rhythmic gurgling or perking sound every few seconds. The perk should be gentle and steady. If the perking becomes rapid or violent, your heat is too high. Reduce it immediately.
Use a timer. For stovetop models, set a timer for 4 to 7 minutes once the perking starts. Shorter brew times produce a milder cup. Longer times produce a stronger, more intense brew. Do not exceed 10 minutes, or the coffee will likely taste bitter and harsh.
Common Mistakes and How to Fix Them
Even experienced percolator users make mistakes. Here are the most frequent ones and their solutions.
Mistake 1: Using water that is too hot. Boiling water scorches coffee grounds and creates a burnt taste. The fix: keep the heat at medium and maintain a gentle perk. The ideal water temperature is between 195°F and 200°F.
Mistake 2: Using the wrong grind size. Fine grounds create muddy, bitter coffee. Switch to a coarse or medium coarse grind to fix this immediately.
Mistake 3: Brewing for too long. Over extraction is the main cause of bitter percolator coffee. Stick to the 4 to 7 minute range and remove the basket promptly.
Mistake 4: Leaving the basket in after brewing. The grounds continue to steep if you leave the basket in the pot. Always remove the basket and stem as soon as brewing ends.
Mistake 5: Not cleaning the percolator regularly. Old coffee oils and mineral deposits build up over time and affect flavor. Clean your percolator after each use and deep clean it monthly.
How to Clean and Maintain Your Percolator
Regular cleaning is essential for great tasting coffee. Old residue and mineral buildup can make even the best beans taste stale.
After each use, disassemble the percolator completely. Wash the pot, basket, stem, and lid with warm soapy water. Rinse everything thoroughly. Do not put electric percolator bases in water. Wipe them with a damp cloth instead.
For a monthly deep clean, fill the percolator with equal parts water and white vinegar. Run a full brewing cycle. Let the mixture sit for 10 minutes, then discard it. Run one or two more cycles with plain water to flush out any vinegar residue.
If you notice stubborn mineral deposits, try adding a quarter cup of baking soda to water and running a cycle. This removes scale buildup effectively. Keeping your percolator clean will extend its lifespan and ensure every pot tastes fresh.
Percolator Coffee vs Drip Coffee: Key Differences
Many people wonder how percolator coffee compares to drip coffee. The two methods produce noticeably different results.
Flavor: Percolator coffee is bolder, stronger, and more full bodied. The repeated cycling of water through the grounds extracts more oils and dissolved solids. Drip coffee tends to be cleaner and more subtle, especially with paper filters.
Caffeine: Percolator coffee generally contains more caffeine per cup because of the longer contact time between water and grounds. If you need a stronger morning boost, a percolator delivers.
Texture: Percolators skip paper filters, so coffee oils and fine particles stay in the brew. This creates a richer mouthfeel. Drip coffee with paper filters has a lighter, smoother texture.
Pros of percolator coffee: Stronger flavor, higher caffeine, richer body, no paper filters needed.
Cons of percolator coffee: Easier to over extract, requires more attention, can taste bitter if done wrong.
Pros of drip coffee: Easy to use, consistent results, cleaner taste, hands off brewing.
Cons of drip coffee: Milder flavor, lower caffeine, paper filters remove beneficial oils.
Tips for Making the Best Percolator Coffee Every Time
These practical tips will help you get consistently great results from your percolator.
Always start with fresh, cold water. Tap water that has been sitting in the pot or has already been heated can taste flat. Cold water also gives you better control over the heating process.
Use freshly roasted and freshly ground coffee beans. Pre ground coffee loses its flavor and aroma quickly. Grinding your beans right before brewing makes a noticeable difference in taste.
Preheat your percolator before adding grounds. Some experienced brewers recommend running hot water through the pot first. This stabilizes the brewing temperature and leads to more even extraction.
Experiment with brew times. Start at 5 minutes and adjust based on your taste. Write down your settings so you can repeat a brew you love. Every percolator behaves slightly differently, so finding your sweet spot takes a few tries.
Serve immediately after brewing. Percolator coffee tastes best fresh. Letting it sit on a heat source for too long will make it taste stale and bitter.
Best Coffee Beans for Percolator Brewing
Not every coffee bean works well in a percolator. The bold brewing process amplifies both good and bad qualities in coffee.
Medium to dark roast beans are the classic choice for percolator brewing. The repeated cycling of water highlights the deep, rich, chocolatey notes found in these roasts. Light roasts can taste sour or overly acidic in a percolator because the intense extraction amplifies their brightness.
Single origin beans with low acidity work particularly well. Look for beans from regions like Brazil, Sumatra, or Colombia. These origins tend to produce smooth, full bodied coffees that pair perfectly with the percolator method.
Avoid flavored or very oily beans. Flavored coffees can leave residue that is hard to clean. Very oily dark roasts may clog the basket holes over time. A clean, medium dark roast with a balanced profile gives the most satisfying results in a percolator.
Frequently Asked Questions
How long should you let a coffee percolator brew?
A coffee percolator should brew for 4 to 7 minutes on a stovetop model. Electric percolators usually take 7 to 10 minutes and stop automatically. The key is to avoid going beyond 10 minutes. Over brewing causes the coffee to taste bitter and harsh. Start at 5 minutes and adjust the time based on how strong you like your coffee.
Can you use regular ground coffee in a percolator?
You can use regular ground coffee, but it is not ideal. Standard drip grind is often too fine for a percolator. Fine grounds fall through the basket holes and create a gritty, over extracted brew. Coarse or medium coarse ground coffee works best. If you only have regular grind available, try using less coffee and reducing the brew time to prevent bitterness.
Why does my percolator coffee taste bitter?
Bitter percolator coffee usually results from one of three issues: the heat is too high, the brew time is too long, or the grind is too fine. Reduce your burner to medium heat so the water perks gently. Keep the brew time under 7 minutes. Switch to a coarse grind. Making these three changes will dramatically improve the taste of your coffee.
Is percolator coffee stronger than drip coffee?
Yes, percolator coffee is typically stronger in both flavor and caffeine than drip coffee. The water passes through the coffee grounds multiple times during percolation, which extracts more dissolved solids and caffeine. If you prefer a milder cup, use fewer grounds or shorten the brewing time.
How do you prevent coffee grounds from getting into percolator coffee?
Use a coarse grind to keep grounds from slipping through the basket holes. Make sure the basket lid is securely in place before brewing. Some people also dampen the basket under running water before adding grounds. This helps the grounds stick together and prevents them from falling through. You can also place a small paper filter inside the basket for extra protection.
How often should you clean a coffee percolator?
Rinse and wash your percolator with warm soapy water after every use. Perform a deep clean with a 50/50 mix of white vinegar and water once a month. Run the mixture through a full brew cycle, let it sit for 10 minutes, then rinse with plain water. This removes mineral deposits and old coffee oil buildup that can ruin the taste of your brew.

Hi, I’m Emma Lee — the coffee-obsessed creator behind Morning Drip Vault. I spend my days testing coffee machines, exploring brewing techniques, and reviewing the latest coffee gear. My mission is simple: helping you find the perfect machine to brew your best cup, every single morning.