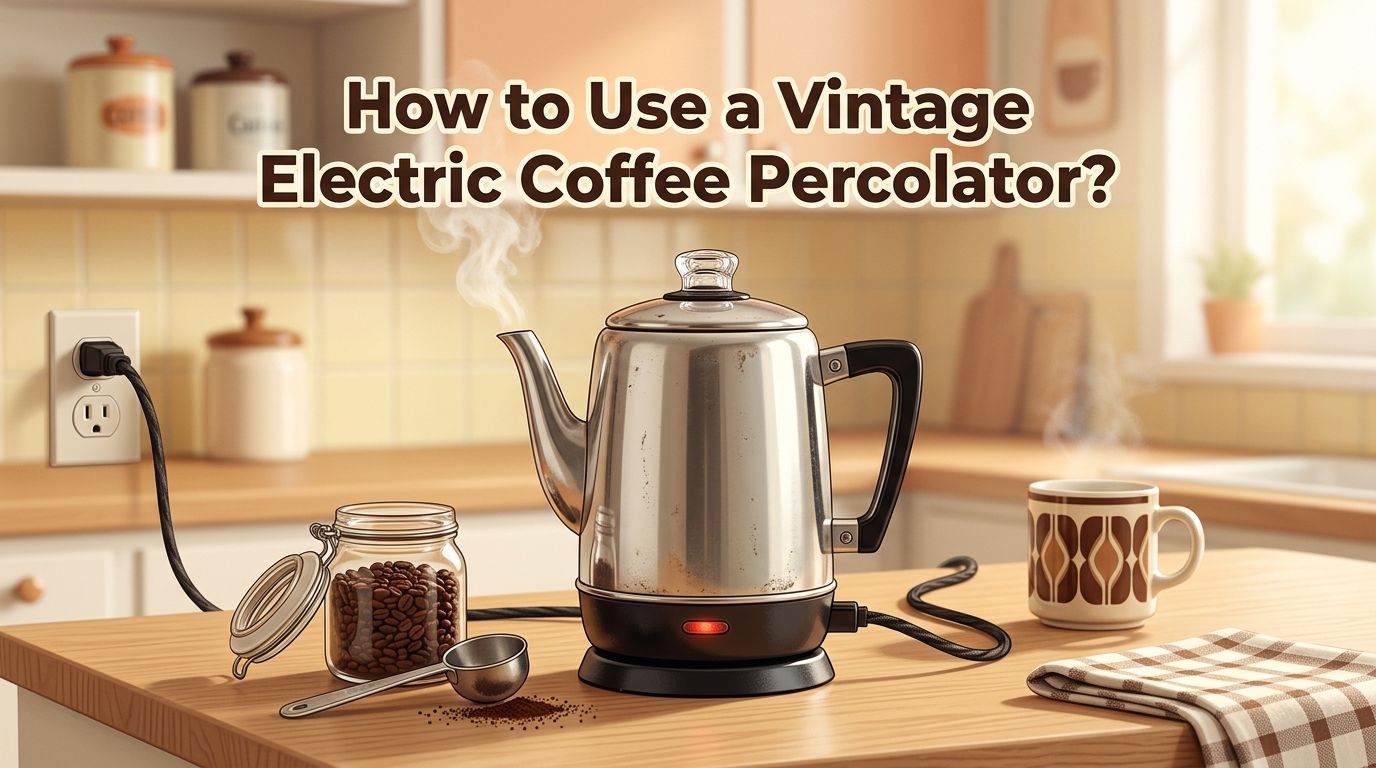
How to Use a Vintage Electric Coffee Percolator?
There is something special about a vintage electric coffee percolator. The gentle bubbling sound, the rich aroma filling your kitchen, and the bold flavor that modern drip machines simply cannot match.
Maybe you found one at a thrift store. Maybe you inherited one from a grandparent. Either way, you are now holding a piece of coffee history and wondering how to make it work.
You are not alone. Thousands of people rediscover these classic brewing machines every year. The good news is that vintage electric percolators are surprisingly simple to use. They produce full bodied, aromatic coffee with minimal effort once you understand the basics.
Key Takeaways
- Inspect your vintage percolator before first use. Check the power cord for cracks, fraying, or exposed wires. Make sure the heating element works. Run a cycle with plain water before brewing coffee to flush out dust and residue.
- Use coarse ground coffee for the best results. Fine grounds will slip through the basket holes, create sediment in your cup, and lead to bitter, over extracted coffee. A coarse grind similar to sea salt works perfectly in a percolator.
- Follow the standard ratio of one tablespoon of coffee per six ounces of water. This gives you a balanced, flavorful cup. Adjust up or down based on your taste preferences. Always start with cold, filtered water for the cleanest flavor.
- Most vintage electric percolators are automatic. They will stop percolating and switch to a “keep warm” mode once brewing is complete. If yours does not, watch the glass knob on top and unplug the unit after 7 to 10 minutes of percolating.
- Clean your percolator after every use. Rinse all parts with warm water. Deep clean once a month with a mixture of white vinegar and water to remove mineral buildup and old coffee oils that cause stale, rancid flavors.
- Percolator coffee is bolder and richer than drip coffee. The brewing process cycles water through the grounds multiple times, extracting more flavor and caffeine. This is a feature, not a flaw, and it is why percolator fans love their machines.
What Is a Vintage Electric Coffee Percolator and How Does It Work
A vintage electric coffee percolator is a countertop appliance that brews coffee by continuously cycling hot water through a basket of coffee grounds. Popular brands from the mid 1900s include General Electric, Farberware, Sunbeam, and Corning Ware. These machines were kitchen staples from the 1940s through the 1970s.
The mechanics are straightforward. Water sits in the bottom chamber. A vertical tube runs from the base up to a perforated basket that holds the coffee grounds. When the heating element warms the water, it rises through the tube and sprays over the grounds. The brewed liquid then drips back down into the main chamber and recirculates.
This recycling process creates a stronger, more full bodied brew than a single pass drip machine. Most electric models include a thermostat that automatically stops the percolation cycle and switches to a warming mode.
How to Inspect Your Vintage Percolator Before First Use
Safety comes first with any vintage electrical appliance. A percolator from the 1950s or 1960s may have worn components that need attention. Never plug in a vintage percolator without inspecting it carefully.
Start with the power cord. Look for cracks, fraying, melted spots, or exposed wires. Many vintage percolators use detachable cords. If yours is damaged, you can find compatible replacement cords at specialty retailers and online shops. Make sure the replacement matches the pin configuration and wattage of your specific model.
Next, examine the interior. Check for rust, mineral deposits, or heavy staining inside the pot. Look at the heating element on the bottom for visible damage or corrosion. Inspect the basket, stem, and lid for dents or warping that could affect performance.
Pros of a thorough inspection: You avoid electrical hazards and ensure a clean, safe brew. Cons: It takes time, and you may need to spend money on a replacement cord or professional check.
How to Clean Your Vintage Percolator Before Brewing
A vintage percolator that has been sitting unused needs a deep cleaning before it touches coffee grounds. Old oils, dust, and mineral deposits will ruin your first brew if you skip this step.
Fill the percolator with a mixture of equal parts white vinegar and water. Assemble the stem and empty basket. Plug in the unit and let it run through a full percolation cycle. This will break down mineral buildup, old coffee residue, and any musty odors from storage.
After the vinegar cycle, dump the solution and rinse every part with warm water. Then fill the pot with fresh water only and run a second cycle. This removes any remaining vinegar taste. If the interior still looks stained, make a paste with two tablespoons of baking soda and a small amount of water. Scrub gently with a soft cloth.
Dry all parts completely before assembling for your first real brew.
How to Assemble the Percolator Correctly
Proper assembly is the foundation of a good brew. The parts are simple, but they need to be in the right order. Most vintage electric percolators have four main components: the pot, the stem tube, the filter basket, and the basket lid.
Start by placing the stem tube into the well at the bottom of the pot. It should sit securely and stand straight up. Next, slide the filter basket onto the top of the stem. The basket should rest firmly and not wobble.
Make sure the basket has no gaps or cracks. A damaged basket will let grounds escape into your coffee. Some percolators also have a small spring at the base of the stem. Check that this spring is intact because it helps maintain proper water pressure.
Finally, the basket lid (also called the spreader cover) sits on top of the basket. It distributes the rising water evenly across the grounds. Without this lid, water will channel through one spot and extract unevenly.
How to Measure Coffee Grounds and Water
Getting the ratio right is the single biggest factor in great percolator coffee. The standard recommendation is one level tablespoon of coarse ground coffee per six ounces of water. This produces a medium strength cup.
If you prefer stronger coffee, increase to one and a half tablespoons per cup. For lighter coffee, reduce to about two thirds of a tablespoon per cup. Always measure your water using the cup markings on the side of the percolator if they are visible.
Use cold, fresh, filtered water every time. Warm or hot water can cause the percolator to heat too quickly and lead to uneven extraction. Fill the pot before adding the stem and basket to get an accurate water level.
Pros of careful measuring: Consistent, balanced flavor every time. You can fine tune your preferred strength. Cons: It takes a moment longer than guessing, but the results speak for themselves.
One important note: always use at least three quarters of your percolator’s total capacity. These machines work best when they have enough water to cycle properly.
Why You Should Use Coarse Ground Coffee
Grind size matters more in a percolator than in almost any other brewing method. Coarse ground coffee is essential for a clean, smooth cup. The texture should resemble coarse sea salt or raw sugar.
Here is why. The filter basket in a vintage percolator has small perforated holes, not a paper filter. Fine grounds will slip through those holes and end up as sludge in your cup. They also create over extraction because the hot water contacts too much surface area during the recycling process.
Medium grounds are acceptable in a pinch, but they increase the risk of bitterness. If you buy pre ground coffee, look for labels that say “percolator grind” or “coarse grind.” If you grind your own beans, set your grinder to the coarsest setting.
Pros of coarse grounds: Cleaner brew, less bitterness, no sediment. Cons: You may need to buy a grinder or source specific grind sizes, and very coarse grounds can produce weaker coffee if you under dose.
Step by Step Brewing Instructions
Now it is time to brew. Follow these steps for your first pot of percolator coffee.
Step 1: Fill the percolator with cold, filtered water to your desired cup level. Step 2: Insert the stem tube into the base of the pot. Step 3: Place the filter basket on top of the stem. Step 4: Add your measured coarse coffee grounds to the basket. Do not pack them down. Let them sit loosely for even water flow. Step 5: Place the basket lid on top of the grounds. Step 6: Put the main lid on the percolator and plug it in.
Within a few minutes, you will hear the familiar bubbling sound and see coffee percolating through the glass knob on top. Most automatic vintage models will brew for about 7 to 10 minutes and then switch to a warming cycle. The light indicator on the base (if your model has one) will change when brewing is complete.
If your model is not automatic, watch the color of the liquid in the glass knob and unplug after 7 to 10 minutes.
How to Know When Your Coffee Is Ready
Timing and visual cues are your best guides. Automatic vintage percolators will click off or switch to a keep warm setting when the brew cycle ends. You may hear a distinct click or notice the bubbling sound stop.
If your model lacks an automatic shutoff, rely on the glass knob on the lid. This transparent bubble lets you see the coffee as it cycles. The liquid should turn a rich amber to dark brown color. If it looks pale and watery, give it another minute or two.
A total brew time of 7 to 10 minutes is ideal for most percolators. Going beyond 12 minutes usually results in bitter, over extracted coffee. Going under 5 minutes often leaves you with weak, under extracted coffee.
Remove the basket and stem immediately after brewing is complete. Leaving the grounds in contact with hot coffee will continue the extraction process and make the brew increasingly bitter. This is the single most common mistake new percolator users make.
Common Mistakes and How to Avoid Them
Several pitfalls can ruin an otherwise great pot of percolator coffee. Here are the most frequent errors and their fixes.
Using fine ground coffee is mistake number one. As mentioned, fine grounds cause bitterness and sediment. Always use coarse. Overfilling the basket is another problem. Packed grounds restrict water flow and create an uneven, muddy brew. Fill the basket loosely, leaving a small gap at the top.
Forgetting to remove the basket after brewing is a major issue. The hot liquid will keep pulling flavor from the spent grounds, and that flavor turns harsh and bitter. Pull the basket and stem out right after the cycle finishes.
Using old, stale coffee beans is also a flavor killer. Coffee grounds lose freshness quickly after grinding. For the best results, grind your beans fresh or buy small quantities that you will use within two weeks.
Finally, skipping regular cleaning leads to rancid oil buildup that taints every pot. A clean percolator makes noticeably better coffee.
How to Clean Your Percolator After Each Use
Daily cleaning is simple and takes less than five minutes. Disassemble all parts immediately after the pot has cooled enough to handle. Remove the lid, basket, and stem.
Rinse each piece under warm running water. Use a soft sponge or cloth to wipe the inside of the pot. Avoid abrasive scrubbers on stainless steel or aluminum interiors because they can leave scratches that trap coffee oils.
Wash the basket and stem with warm water and a drop of mild dish soap. Rinse thoroughly to remove all soap residue. Some coffee purists avoid soap entirely, but a light wash prevents oil buildup without affecting flavor if you rinse well.
For a monthly deep clean, run a cycle with equal parts white vinegar and water, followed by two cycles of plain water. This removes mineral scale and stubborn stains. Baking soda also works well for scrubbing away discoloration on the interior walls.
Pros of regular cleaning: Better tasting coffee, longer appliance lifespan. Cons: Requires a few minutes of effort after each use, but it quickly becomes habit.
Percolator Coffee vs Drip Coffee: Understanding the Difference
Many people wonder how percolator coffee compares to the drip machines they are familiar with. The differences are significant and worth understanding.
Percolator coffee is bolder, richer, and stronger. The water passes through the grounds multiple times during the brew cycle, extracting more flavor compounds and caffeine. Drip machines pass water through the grounds only once, producing a lighter, cleaner cup.
The mouthfeel is different too. Percolators do not use paper filters, so natural coffee oils remain in the brew. This creates a fuller, thicker texture similar to French press coffee. Drip machines with paper filters remove these oils, giving a crisper, thinner profile.
Pros of percolator coffee: Richer flavor, fuller body, higher caffeine content, no paper filters to buy. Cons of percolator coffee: Higher risk of over extraction and bitterness if timing is wrong, requires more attention than a set and forget drip machine.
Pros of drip coffee: Consistent results, cleaner taste, easy and hands off. Cons of drip coffee: Less body, lower flavor intensity, ongoing filter costs.
Troubleshooting Common Percolator Problems
Even reliable vintage percolators occasionally have issues. Here are the most common problems and their solutions.
The percolator does not turn on. Check the outlet first. Then inspect the power cord for damage. Try a different cord if yours is detachable. If the unit still does not work, the internal heating element may have failed and will need professional repair or replacement.
Coffee tastes bitter. Reduce brew time, use coarser grounds, or decrease the amount of coffee in the basket. Also make sure you remove the basket immediately after brewing.
Coffee tastes weak or watery. Add more grounds, use a finer grind (but not too fine), or let the cycle run slightly longer. Also check that you are using enough water to reach proper cycling pressure.
Grounds in the cup. Switch to a coarser grind. Check the basket for cracks or holes. Make sure the basket lid is in place during brewing.
The percolator leaks. Inspect the base seal and the stem connection. Warped or worn gaskets are the usual cause. Replacement parts are available for many popular vintage models.
Tips for Getting the Best Flavor From Your Vintage Percolator
A few extra tricks will take your percolator coffee from good to excellent. Start with high quality, freshly roasted beans. The bold nature of percolator brewing amplifies both good and bad qualities in your coffee.
Experiment with different roast levels. Medium and medium dark roasts tend to perform best in percolators. Light roasts can taste sour because the recirculating process emphasizes bright, acidic notes. Very dark roasts may turn overly bitter.
Water quality matters more than you think. Hard water with high mineral content can cause scale buildup and off flavors. Filtered or spring water produces a cleaner taste and protects your percolator’s heating element.
Try adding a tiny pinch of salt to the grounds before brewing. This old trick reduces bitterness without adding a salty flavor. It works by blocking bitter taste receptors on your tongue.
Finally, serve your coffee soon after brewing. Percolator coffee that sits on the warming element for more than 30 minutes begins to taste stale and cooked. Pour it into a thermal carafe if you want to keep it hot without degrading the flavor.
Frequently Asked Questions
How long should you let a vintage electric percolator run?
Most vintage electric percolators should run for 7 to 10 minutes. Automatic models will stop on their own and switch to a keep warm cycle. If your model lacks an automatic shutoff, watch the glass knob on the lid. When the coffee turns a rich brown and the bubbling is steady, it is time to unplug. Going beyond 12 minutes will usually produce bitter, over extracted coffee.
Can you use regular ground coffee in a percolator?
You can, but coarse ground coffee works much better. Standard pre ground coffee from the grocery store is usually a medium grind designed for drip machines. This grind size may pass through the percolator basket holes and create sediment. It can also lead to over extraction and bitterness. If coarse grind is not available, medium grind will work in a pinch, but expect slightly more sediment in your cup.
Is it safe to use a vintage electric percolator?
It can be safe if you inspect the unit carefully before use. Check the power cord for damage, test the heating element, and make sure no internal parts are cracked or corroded. Never leave a vintage appliance running unattended. If you have any doubts about the electrical integrity of your percolator, have it inspected by a qualified appliance repair technician.
Why does my percolator coffee taste bitter?
Bitterness is the most common complaint with percolator coffee. It happens when the coffee is over extracted. The most frequent causes are brewing too long, using grounds that are too fine, using too much coffee, or leaving the basket in the pot after the cycle ends. Reduce brew time, switch to a coarser grind, and always remove the basket promptly to fix this problem.
How do you remove coffee stains from inside a vintage percolator?
A mixture of equal parts white vinegar and water run through a full percolation cycle works extremely well. For stubborn stains, make a paste with baking soda and water and scrub gently with a soft cloth. Bar Keepers Friend is another popular choice for stainless steel percolators. Always rinse thoroughly after cleaning and run a cycle of plain water before your next brew.
Can you make tea in a vintage electric percolator?
Yes, you can use a percolator to brew tea. Place loose leaf tea in the basket instead of coffee grounds and run the cycle. Keep the brewing time short, around 3 to 5 minutes, to avoid over steeping. Tea brewed in a percolator will be strong and full bodied. Just make sure to clean the percolator well before switching back to coffee, as tea residue can affect coffee flavor.

Hi, I’m Emma Lee — the coffee-obsessed creator behind Morning Drip Vault. I spend my days testing coffee machines, exploring brewing techniques, and reviewing the latest coffee gear. My mission is simple: helping you find the perfect machine to brew your best cup, every single morning.