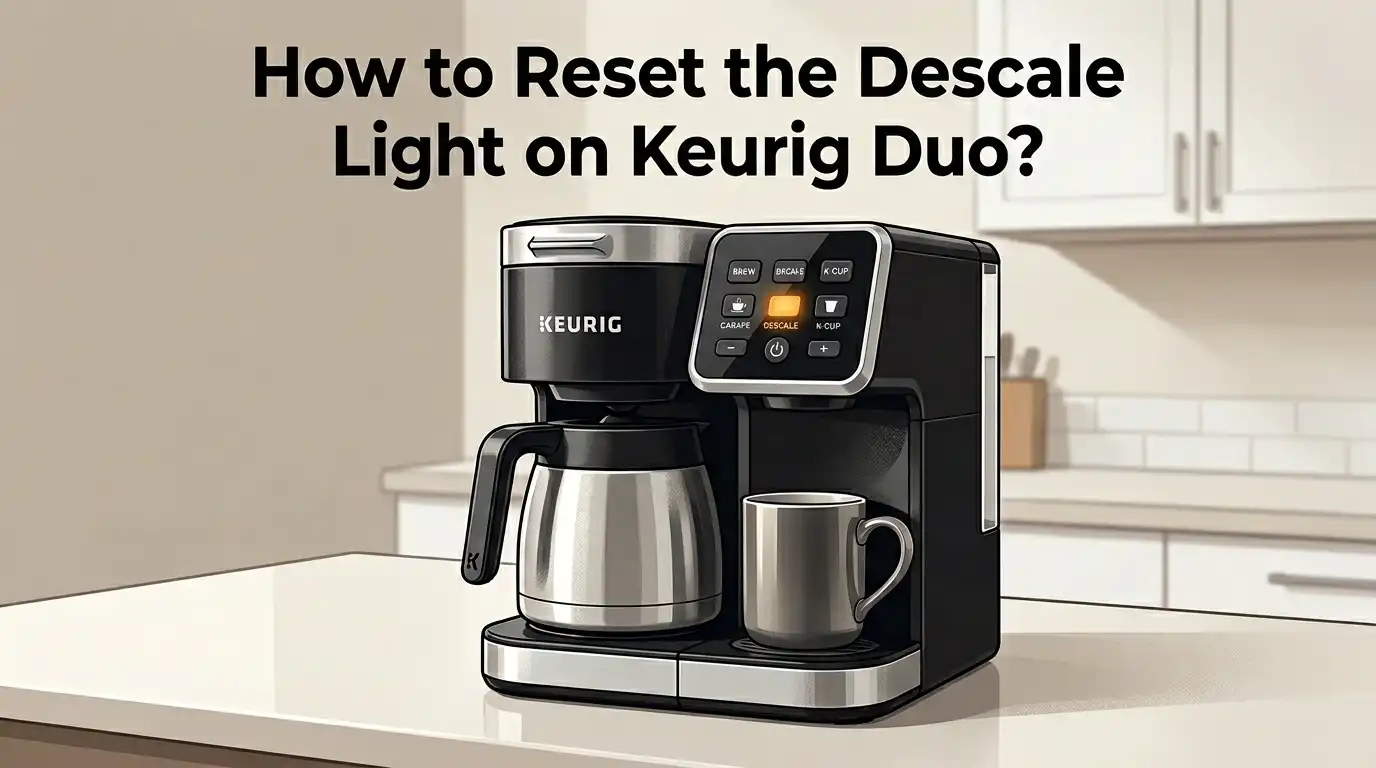
How to Reset the Descale Light on Keurig Duo?
You just spent 30 minutes descaling your Keurig Duo. The vinegar or descaling solution did its job. You rinsed the machine multiple times. But that stubborn descale light still glows on the display.
Sound familiar? You are not alone. Thousands of Keurig Duo owners face this exact problem every day. The descale light on the Keurig Duo can stay on even after a full cleaning cycle, and it can block your brewer from making coffee until you fix it.
This guide will walk you through every possible way to reset that light, explain why it stays on, and give you backup solutions if the standard reset does not work. Keep reading because the fix might be simpler than you think.
In a Nutshell
- The fastest way to reset the descale light on a Keurig Duo is to press and hold the 8oz and 10oz buttons at the same time for 3 to 5 seconds. The light should turn off immediately after this button combination.
- If the button reset does not work, unplug your Keurig Duo from the wall outlet for at least 5 minutes and then plug it back in. This clears the internal memory and can force the descale indicator to reset.
- A common reason the descale light stays on is an incomplete descaling cycle. You need to run the full descale mode process, including multiple rinse cycles with fresh water, before the machine will accept a reset.
- Mineral buildup in the water reservoir drain or clogged needles can trick the machine’s sensor into thinking the brewer still needs descaling. Cleaning these parts often solves the problem.
- White vinegar works as a descaling agent, but it may leave residue that keeps the sensor active. Running extra rinse cycles after vinegar descaling helps the light turn off.
- You should descale your Keurig Duo every 3 to 6 months to prevent heavy buildup. Regular maintenance reduces the chance of the descale light getting stuck after cleaning.
Why Does the Descale Light Turn On in the First Place
The descale light on your Keurig Duo is a maintenance reminder. It activates based on a built in counter that tracks how many brew cycles you have completed. Mineral deposits from tap water, well water, or even filtered water build up inside the heating element and water lines over time.
These deposits, often called limescale or calcium buildup, reduce water flow and affect brewing temperature. The Keurig Duo’s internal system triggers the descale indicator light once it detects that enough cycles have passed. This light is not based on an actual sensor measuring scale buildup. It uses a cycle counter instead.
This is important to understand because it explains why the light can stay on even after you descale. The counter needs a proper reset signal. If the machine does not receive that signal through the correct button combination or a completed descale mode cycle, the light will remain active.
The Standard Button Reset Method
The most common and officially recommended way to reset the descale light on a Keurig Duo is the button combination reset. This method takes less than 10 seconds and works for most users.
Make sure your Keurig Duo is plugged in. Turn the brewer off using the power button. Now press and hold the 8oz and 10oz buttons at the same time for about 3 to 5 seconds. The descale light should turn off.
Some users report that holding the buttons for a full 5 seconds works better than a quick 3 second press. If the light flashes and then turns off, the reset was successful. You can now power on your brewer and start making coffee again.
Pros: This method is fast, easy, and requires no tools or cleaning supplies.
Cons: It only works if you have already completed a proper descaling cycle. The light may come back quickly if actual mineral buildup remains.
How to Run the Full Descale Mode on Keurig Duo
Before you can reset the descale light, you need to complete the full descaling cycle. Skipping steps during this process is the number one reason the light refuses to turn off.
Start by emptying the water reservoir. Remove any K Cup pod from the holder. Pour an entire bottle of Keurig descaling solution into the reservoir. Then fill the empty bottle with water and add that to the reservoir as well. If you use white vinegar instead, mix equal parts vinegar and water to fill the reservoir.
Place a large mug on the drip tray. With the brewer plugged in and powered off, press and hold the 8oz and 12oz buttons together for 3 seconds to activate descale mode. When the brew button begins to flash, press it to start the descaling brew cycle.
Pour each dispensed batch of hot liquid into the sink. Repeat this process until the ADD WATER light turns on. This means the reservoir is empty and the descale solution has passed through the entire system.
Pros: This clears actual mineral deposits and often resets the light automatically.
Cons: The process takes 30 to 45 minutes and uses a full bottle of descaling solution.
Rinsing Your Keurig Duo After Descaling
Rinsing is a step many people rush through, and that mistake often causes the descale light to stay on. After the descaling cycle empties the reservoir, you must rinse the machine with fresh water multiple times.
Fill the water reservoir to the MAX line with clean, fresh water. Run brew cycles on the single serve side until the reservoir is empty. Then refill the reservoir and repeat the process. Keurig recommends running at least three full reservoirs of fresh water through the brewer.
After the single serve rinse cycles, switch to the carafe side and run rinse cycles there too. The carafe side has its own water path, so both sides need flushing. You should run at least 4 rinse cycles on each side.
Once the rinsing is complete, try the button reset method. The descale light should now turn off without any trouble.
Pros: Thorough rinsing removes all traces of descaling solution or vinegar and prevents aftertaste.
Cons: This step is time consuming and uses a lot of water.
Unplug and Power Reset Your Keurig Duo
If the button combination does not reset the descale light, try a full power reset. This method clears the brewer’s internal memory and can fix stuck indicators.
Turn off your Keurig Duo and unplug it from the wall outlet. Wait at least 5 minutes before plugging it back in. Some users find that waiting 10 to 15 minutes gives better results. While the brewer is unplugged, remove the water reservoir and empty it completely.
After the waiting period, plug the machine back in. Before pressing the power button, try the button reset: hold the 8oz and 10oz buttons together for 5 seconds. Then power on the machine and check the descale light.
This power cycle method resets the brewer’s electronics. It is especially useful when the descale light gets stuck due to an interrupted descaling cycle or a software glitch.
Pros: No supplies needed. It resolves electronic glitches and stuck indicators.
Cons: It does not fix the problem if actual mineral buildup is still present inside the brewer.
Clean the Entrance and Exit Needles
Clogged needles can interfere with water flow and trick the Keurig Duo into keeping the descale light active. The entrance needle at the top pierces the K Cup and injects water. The exit needle at the bottom lets brewed coffee flow into your mug.
Open the K Cup holder and remove any pod. Locate the entrance needle under the top of the brewer head. Use a straightened paper clip to gently push into each of the small holes around the needle. This dislodges coffee grounds and mineral deposits.
For the exit needle, remove the K Cup holder assembly from the brewer. Look for the small hole at the bottom. Insert the paper clip and push out any debris. Rinse the entire holder under running water before putting it back.
After cleaning both needles, run two or three water only brew cycles to flush loose particles. Then attempt the button reset again.
Pros: Improves overall brewing performance in addition to resolving the descale light issue.
Cons: Requires careful handling to avoid poking yourself with the needle or paper clip.
Unclog the Water Reservoir Drain
Sometimes the problem is not inside the brewer but in the water reservoir itself. A clogged reservoir drain restricts water flow and can cause the machine to behave as if it still has scale buildup.
Remove the water reservoir from the brewer. Look at the bottom of the reservoir where it connects to the machine. You should see a small valve or opening. Fill the reservoir with warm water.
Using a large syringe or turkey baster, push water through the drain opening from the inside. You may see small particles or discolored water come out. This means scale has been blocking the drain path. Repeat the flushing until the water runs clear.
Clean the reservoir with mild dish soap, rinse it well, and place it back on the brewer. Fill it with fresh water and run a few brew cycles to confirm proper flow.
Pros: Addresses a hidden cause of the descale light that most guides overlook.
Cons: Requires a syringe or baster, and the process can be messy.
Vinegar vs. Keurig Descaling Solution
You have two main options for descaling your Keurig Duo: white vinegar or the official Keurig descaling solution. Each has clear advantages and drawbacks that affect whether the descale light resets smoothly.
White vinegar is cheap and available in every grocery store. A 50/50 mix of vinegar and water dissolves mineral deposits effectively. However, vinegar has a strong odor and can leave a residual taste that takes many rinse cycles to remove. Some users report that the descale light stays on more often after vinegar cleaning because the residue triggers the machine’s flow sensor.
The official Keurig descaling solution is formulated for Keurig machines. It rinses out more cleanly and usually requires fewer rinse cycles. The descale light tends to reset more reliably after using the official solution. The downside is that it costs more than a bottle of vinegar.
Pros of vinegar: Low cost, easy to find, and effective at removing scale.
Cons of vinegar: Strong smell, lingering taste, may require extra rinsing to clear the descale light.
Pros of descaling solution: Designed for Keurig machines, rinses cleanly, and resets the light more reliably.
Cons of descaling solution: Higher cost and requires a separate purchase.
What to Do If the Descale Light Still Will Not Turn Off
You have descaled, rinsed, cleaned the needles, unclogged the reservoir, and tried every reset method. The descale light is still on. Here are a few last resort options.
Try running the complete descale cycle a second time. Heavy mineral buildup from hard water areas may need two full cycles to fully clear. After the second cycle, run at least three reservoirs of fresh water through both the single serve and carafe sides.
Another option is to hold the power button down for 10 seconds while the machine is plugged in. Some Keurig Duo models respond to an extended power button press as a hard reset. After this, attempt the 8oz and 10oz button combination again.
If nothing works, contact Keurig customer support. The brewer may have a faulty sensor or an internal issue that requires professional attention. Keurig offers a one year warranty on most models, and they may replace your unit if it is still under warranty.
How Often Should You Descale Your Keurig Duo
Keurig recommends descaling every 3 to 6 months. However, this timeline depends on the type of water you use and how often you brew.
If you use hard water with high mineral content, descale every 2 to 3 months. Hard water leaves more calcium and magnesite deposits, which accumulate faster. You can check your local water hardness report or use a water test strip to determine your water quality.
If you use filtered or bottled water, you can stretch the interval to every 4 to 6 months. Filtered water contains fewer minerals, so buildup happens more slowly. Never use distilled water in your Keurig Duo because it can confuse the machine’s water detection system.
Setting a calendar reminder helps you stay on top of descaling. Regular maintenance prevents the kind of heavy buildup that makes the descale light difficult to reset.
Tips to Prevent the Descale Light From Getting Stuck
Prevention is always better than troubleshooting. A few simple habits can keep the descale light from becoming a recurring headache.
Use filtered water in your Keurig Duo. A basic pitcher filter removes most of the minerals that cause scale buildup. This alone can cut descaling frequency in half.
Empty the water reservoir daily if you do not use the brewer every day. Standing water promotes mineral deposits and can grow bacteria. Wipe the reservoir dry and refill it with fresh water before each use.
Run a water only brew cycle once a week without a K Cup. This flushes the internal lines and keeps water flowing smoothly through the system. It takes less than a minute and makes a real difference.
Clean the needles monthly with a paper clip. A quick needle cleaning prevents grounds from mixing with scale deposits and creating stubborn clogs.
When to Consider Replacing Your Keurig Duo
Even with perfect maintenance, every Keurig Duo has a limited lifespan. Most Keurig machines last 3 to 5 years with regular use. If your descale light keeps coming back despite thorough cleaning and resetting, the brewer may be reaching the end of its useful life.
Signs that replacement might be the best option include slow brewing despite clean lines, water leaking from the base, inconsistent brew temperatures, and a descale light that refuses to reset after multiple complete descale cycles.
A machine that constantly triggers the descale warning may have internal scale buildup that home descaling cannot reach. The heating element and internal tubing can develop deposits that no amount of vinegar or solution will dissolve.
If your Keurig Duo is under warranty, contact Keurig before buying a replacement. They may send a new unit at no cost. If the warranty has expired, weigh the cost of repeated descaling supplies against the price of a new brewer.
Frequently Asked Questions
How do I reset the descale light on my Keurig Duo?
Press and hold the 8oz and 10oz buttons together for 3 to 5 seconds while the brewer is plugged in and powered off. The descale light should turn off. If it does not, unplug the machine for 5 minutes and try the button combination again after plugging it back in.
Why does the Keurig Duo descale light stay on after descaling?
The most common reason is an incomplete descaling or rinsing cycle. The machine requires multiple brew cycles with the descaling solution followed by at least three full reservoirs of fresh water rinse cycles. If any step is skipped, the light will remain active.
Can I use vinegar to descale my Keurig Duo?
Yes, a 50/50 mix of white vinegar and water works as a descaling agent. However, vinegar may require more rinse cycles than the official Keurig descaling solution. Run at least four full reservoirs of fresh water through the machine after using vinegar to remove all residue.
What buttons do I press to enter descale mode on Keurig Duo?
With the brewer plugged in and powered off, press and hold the 8oz and 12oz buttons simultaneously for 3 seconds. The brew button will start flashing. Press the flashing brew button to begin the descaling cycle.
How often should I descale my Keurig Duo?
Keurig recommends descaling every 3 to 6 months. If you use hard water, descale every 2 to 3 months. If you use filtered or bottled water, every 4 to 6 months is usually sufficient. Regular descaling prevents stubborn buildup and keeps the descale light from getting stuck.
Will unplugging my Keurig Duo reset the descale light?
Unplugging the machine for 5 to 15 minutes can reset the internal electronics and clear a stuck descale light. This method works best when combined with the button reset. After plugging the brewer back in, hold the 8oz and 10oz buttons for 5 seconds before powering on.

Hi, I’m Emma Lee — the coffee-obsessed creator behind Morning Drip Vault. I spend my days testing coffee machines, exploring brewing techniques, and reviewing the latest coffee gear. My mission is simple: helping you find the perfect machine to brew your best cup, every single morning.